Tips for New Plant Parents

For new plant lovers and plant parents, the abundance of different plant choices can be intimidating at times. You might love plants and adore the qualities they bring to your space, but don’t exactly know how to care for them or where to place them in the space you want. In fact, biophilia design actually explains a human tendency to interact or be closely associated with other forms of life in nature!  One misunderstanding though, is that you can just pick up any plant and place it anywhere. But in reality, before buying any plant you should do some research about the plant and its placement to make sure this specific plant will thrive. Choosing the right pot and knowing how to clean your plant are all a process in becoming a new plant parent as well. It might be stressful at times, but becoming a plant lover is exciting and will change the way you think about plants.

Low Maintenance Plants= Best friends:

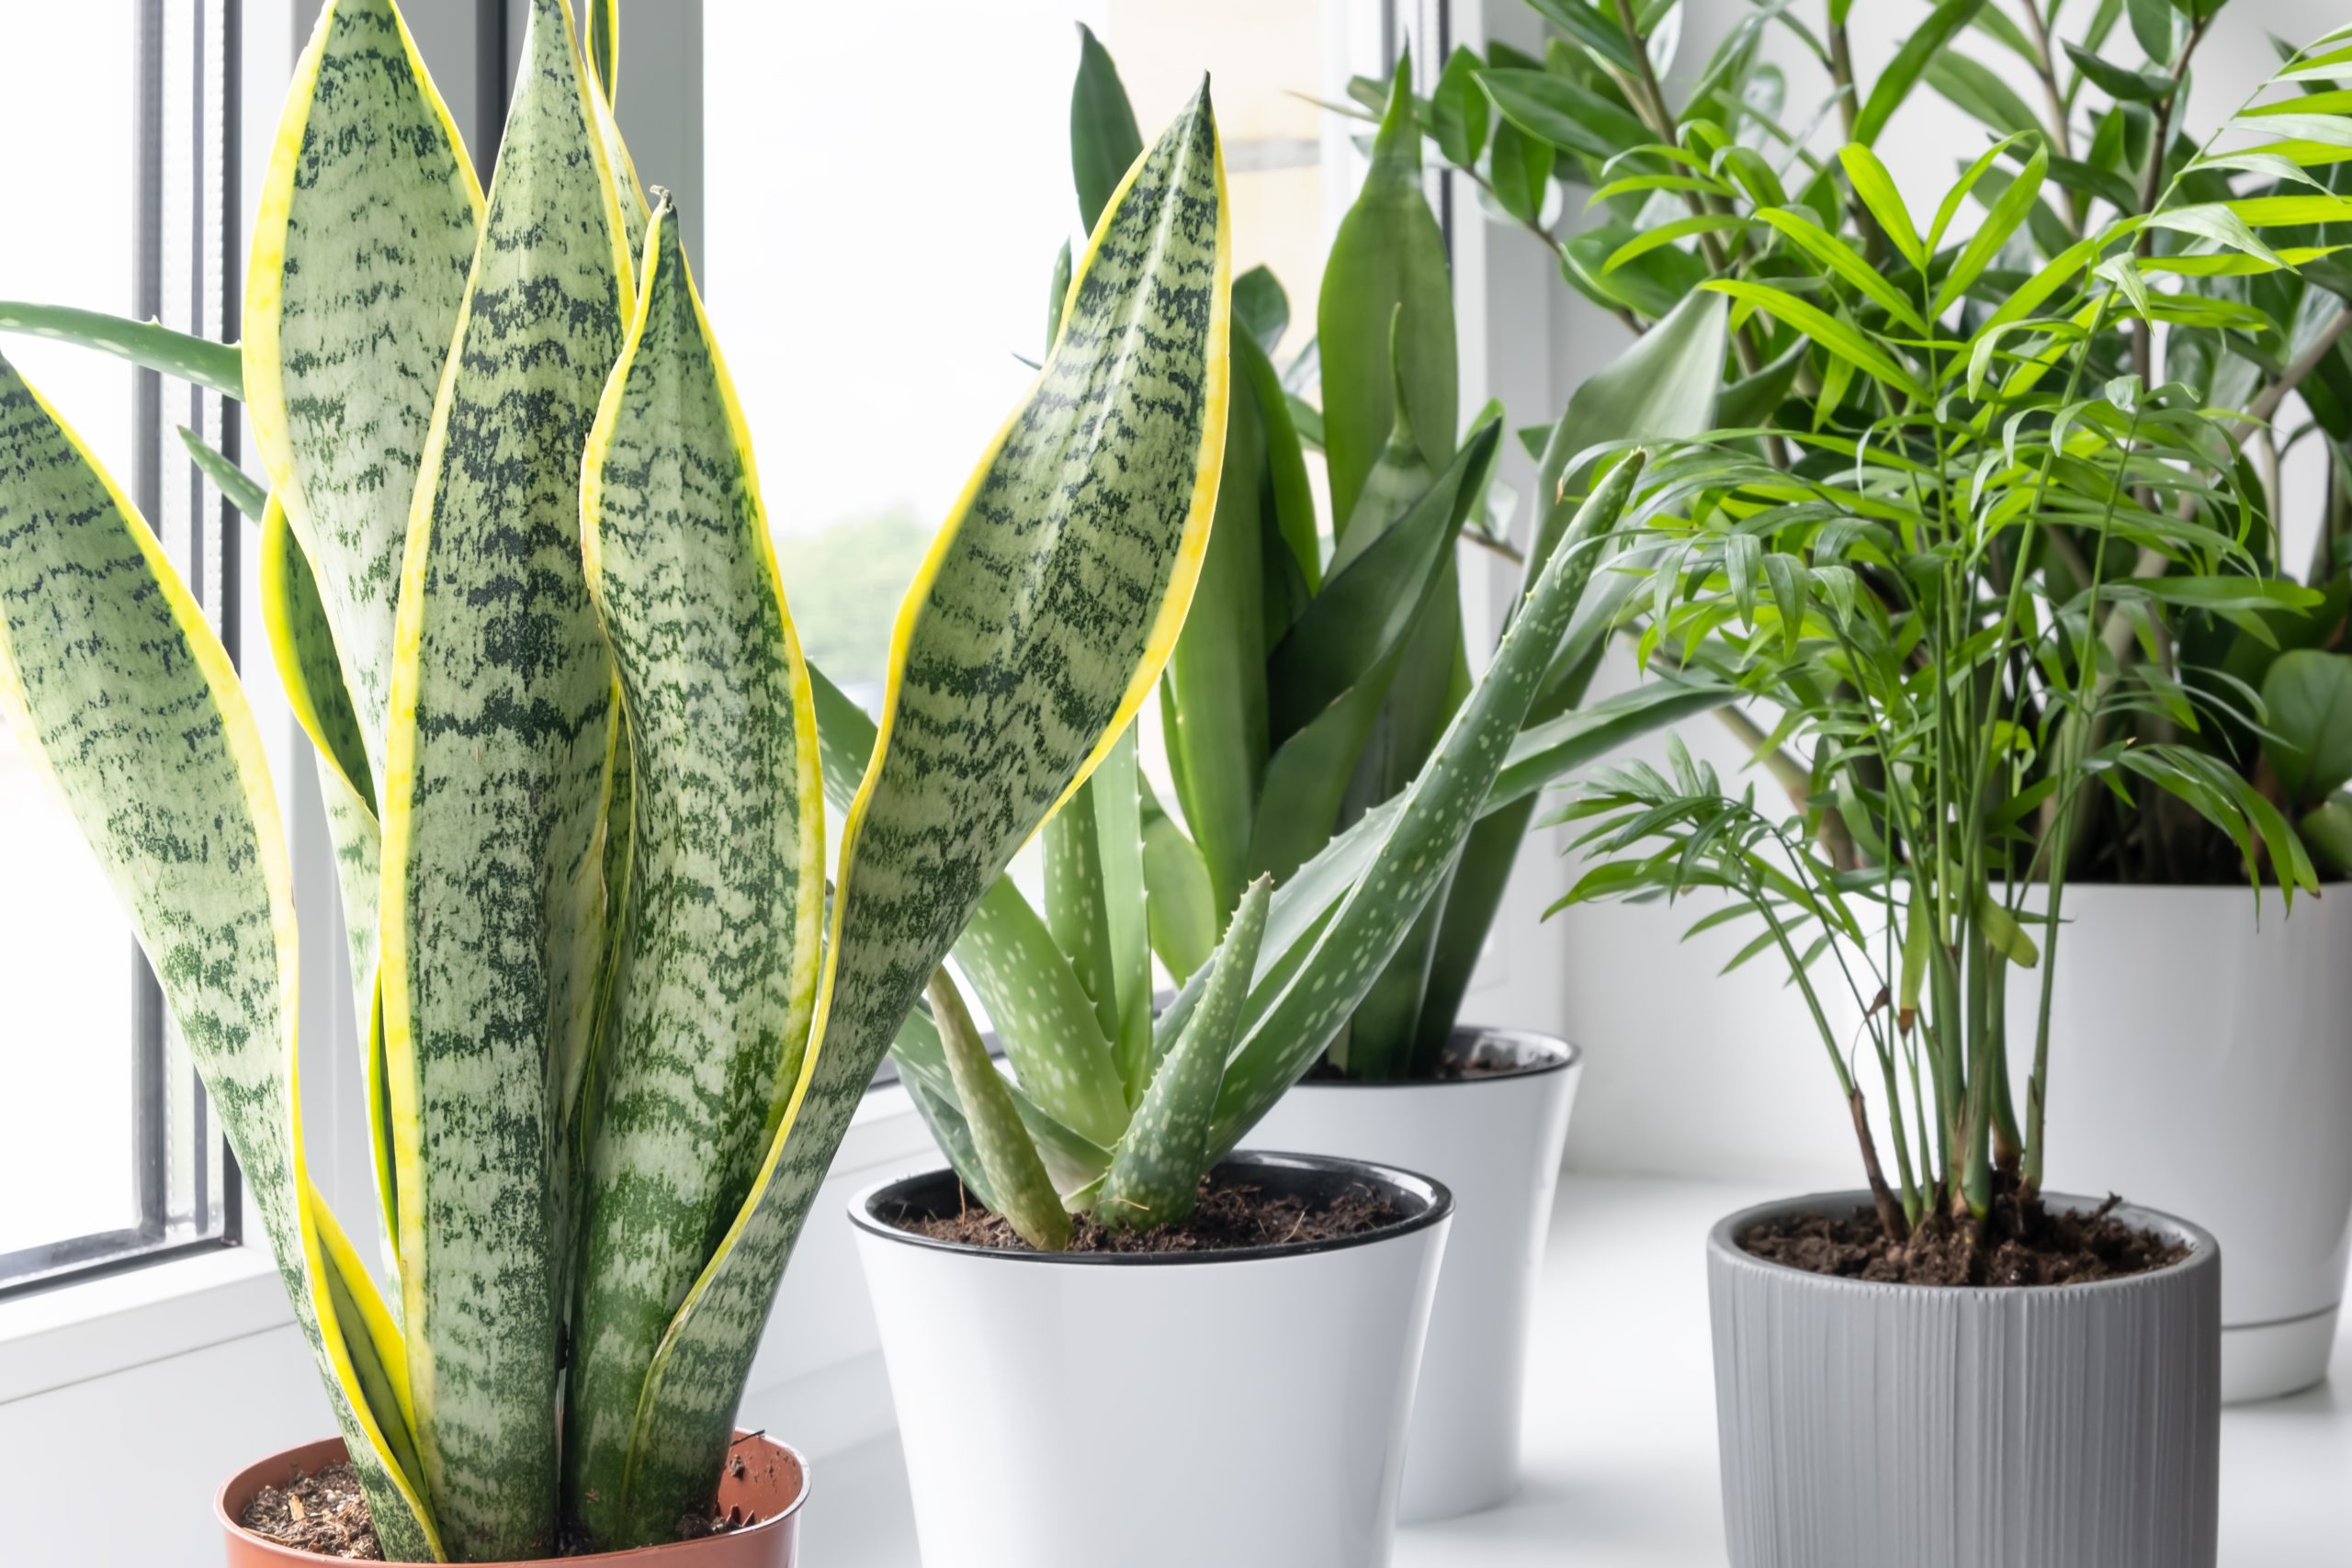
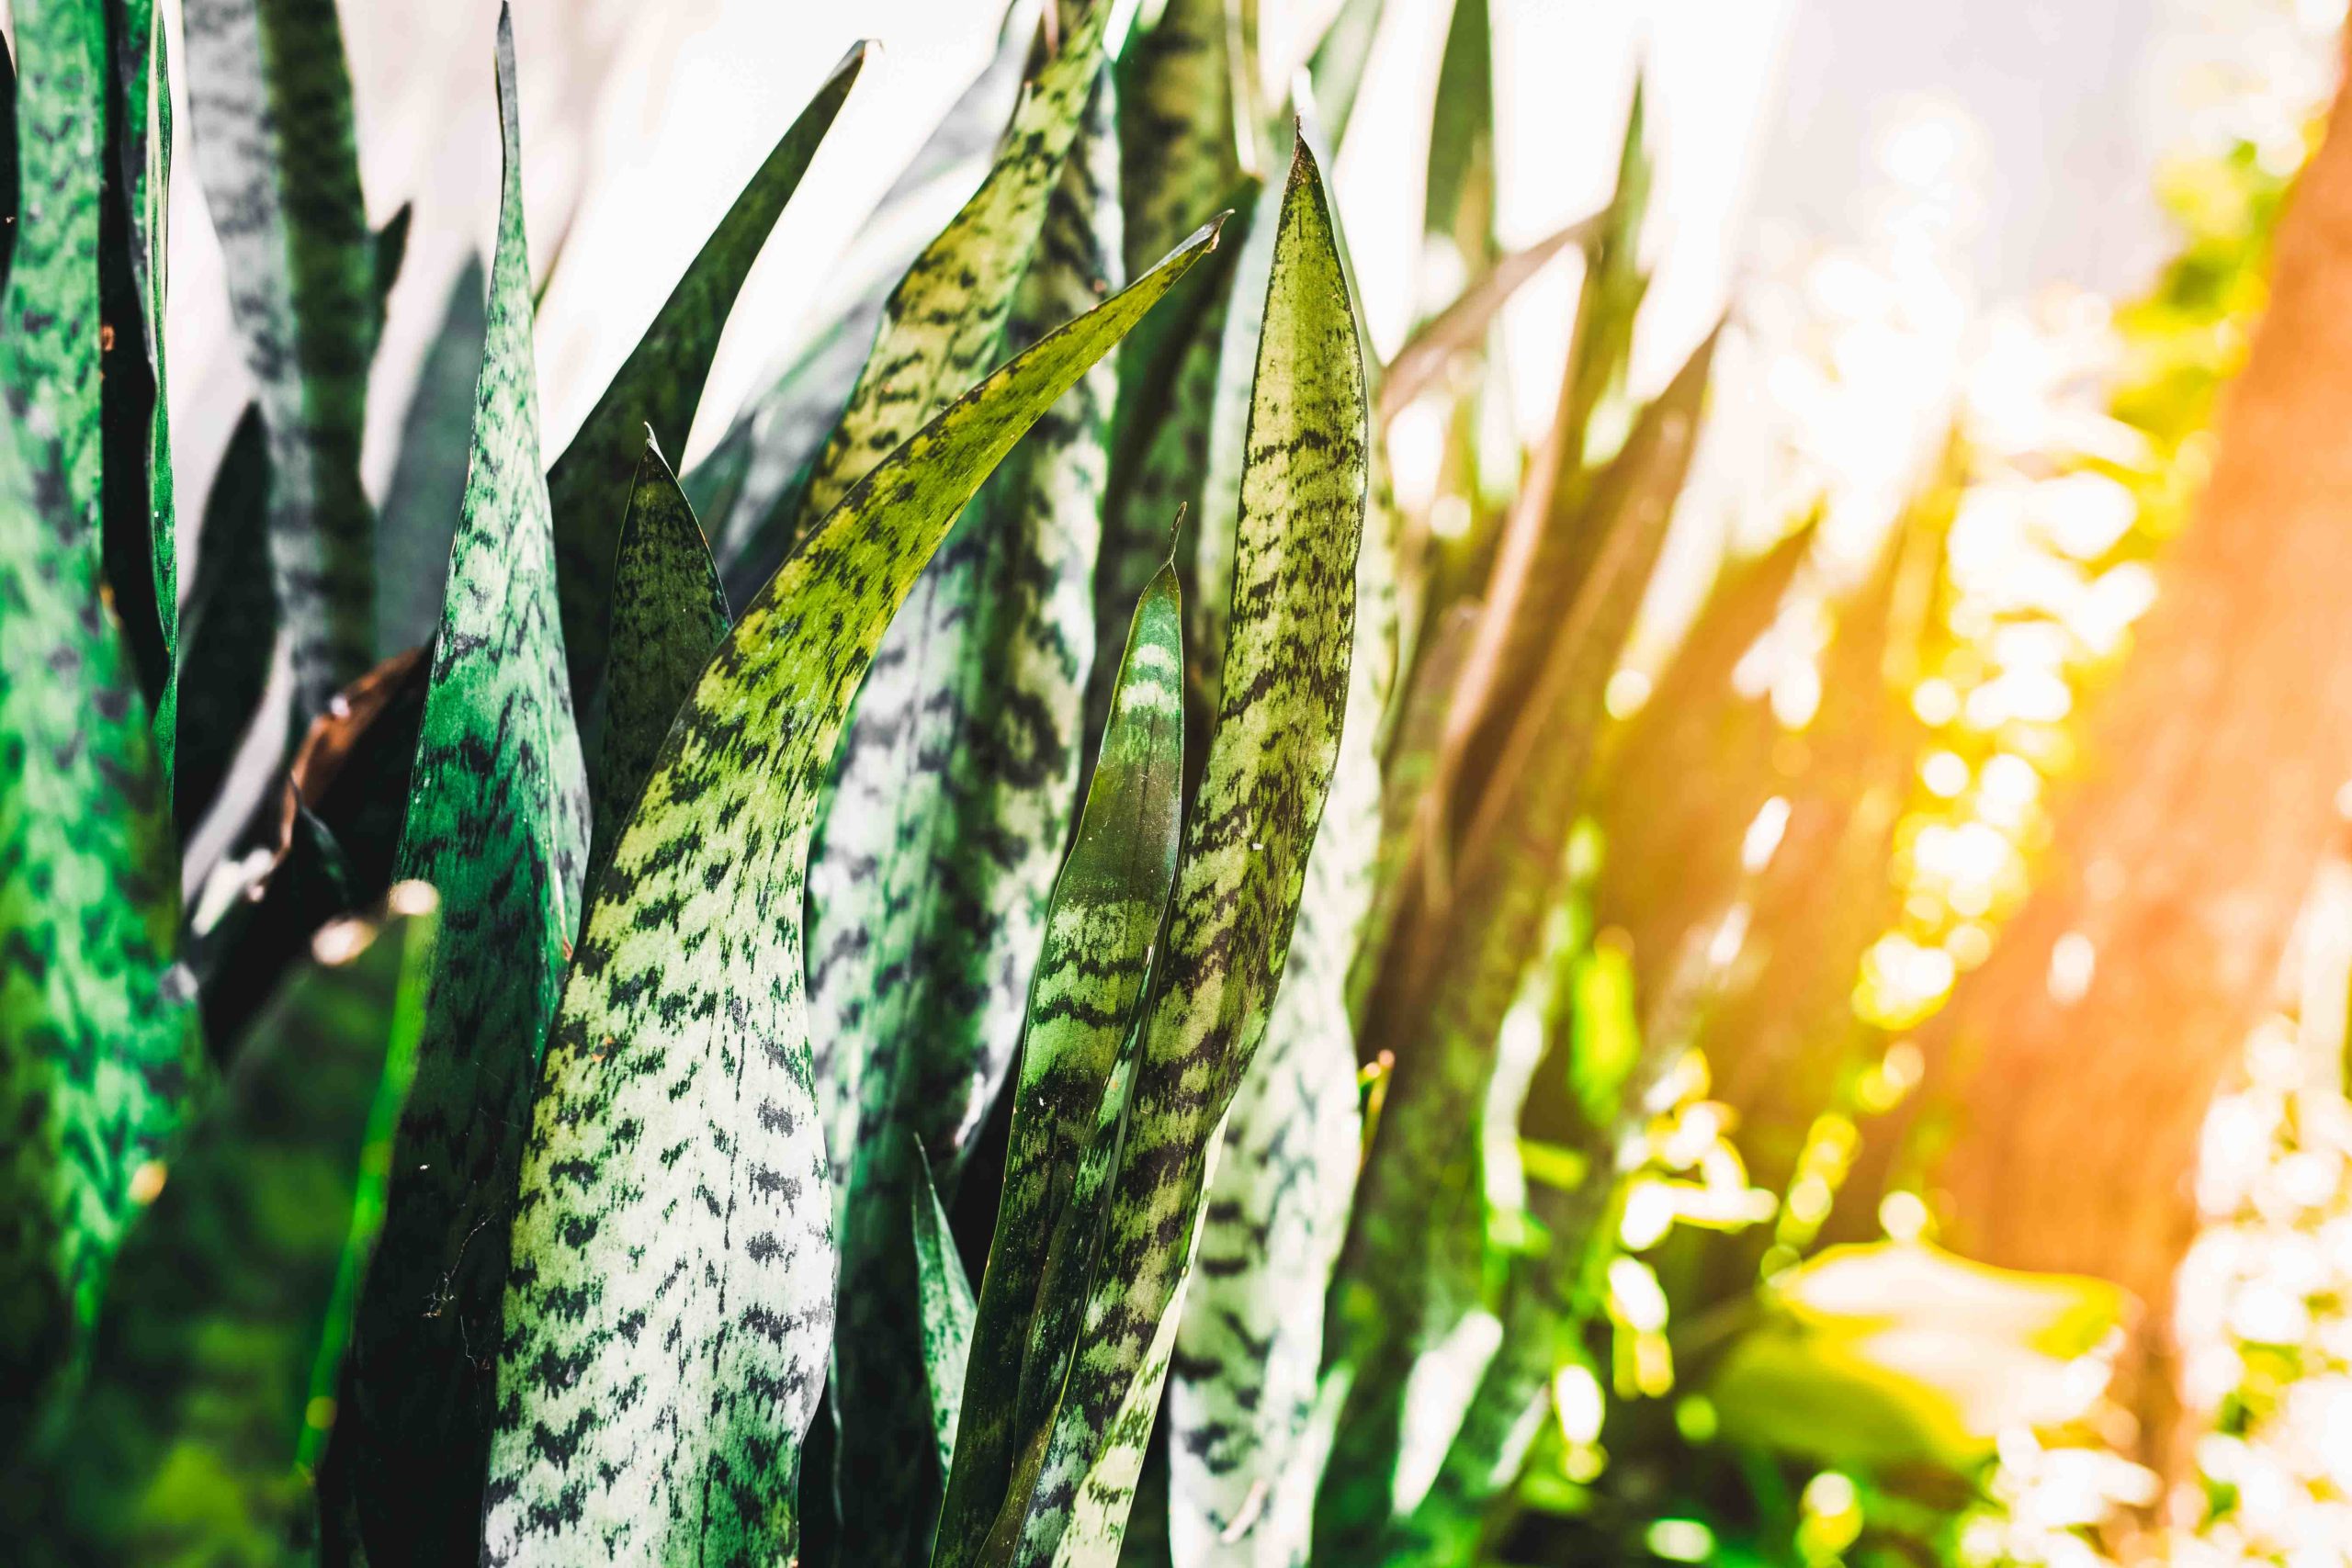
Being a new plant parent, choosing low-maintenance plants will help tremendously with the beginning stages. Buying plants that need a lot of attention and maintenance can be discouraging to new plant parents. It can become overwhelming and make it more of a job rather than a hobby.  Starting with an easy plant such as a ZZ plant is a perfect start-up plant because you can just place it in the corner and let the plant work its own magic. Low-maintenance plants are just as beautiful and will let your space transform into something memorable without constant care.

Understand Your Space:

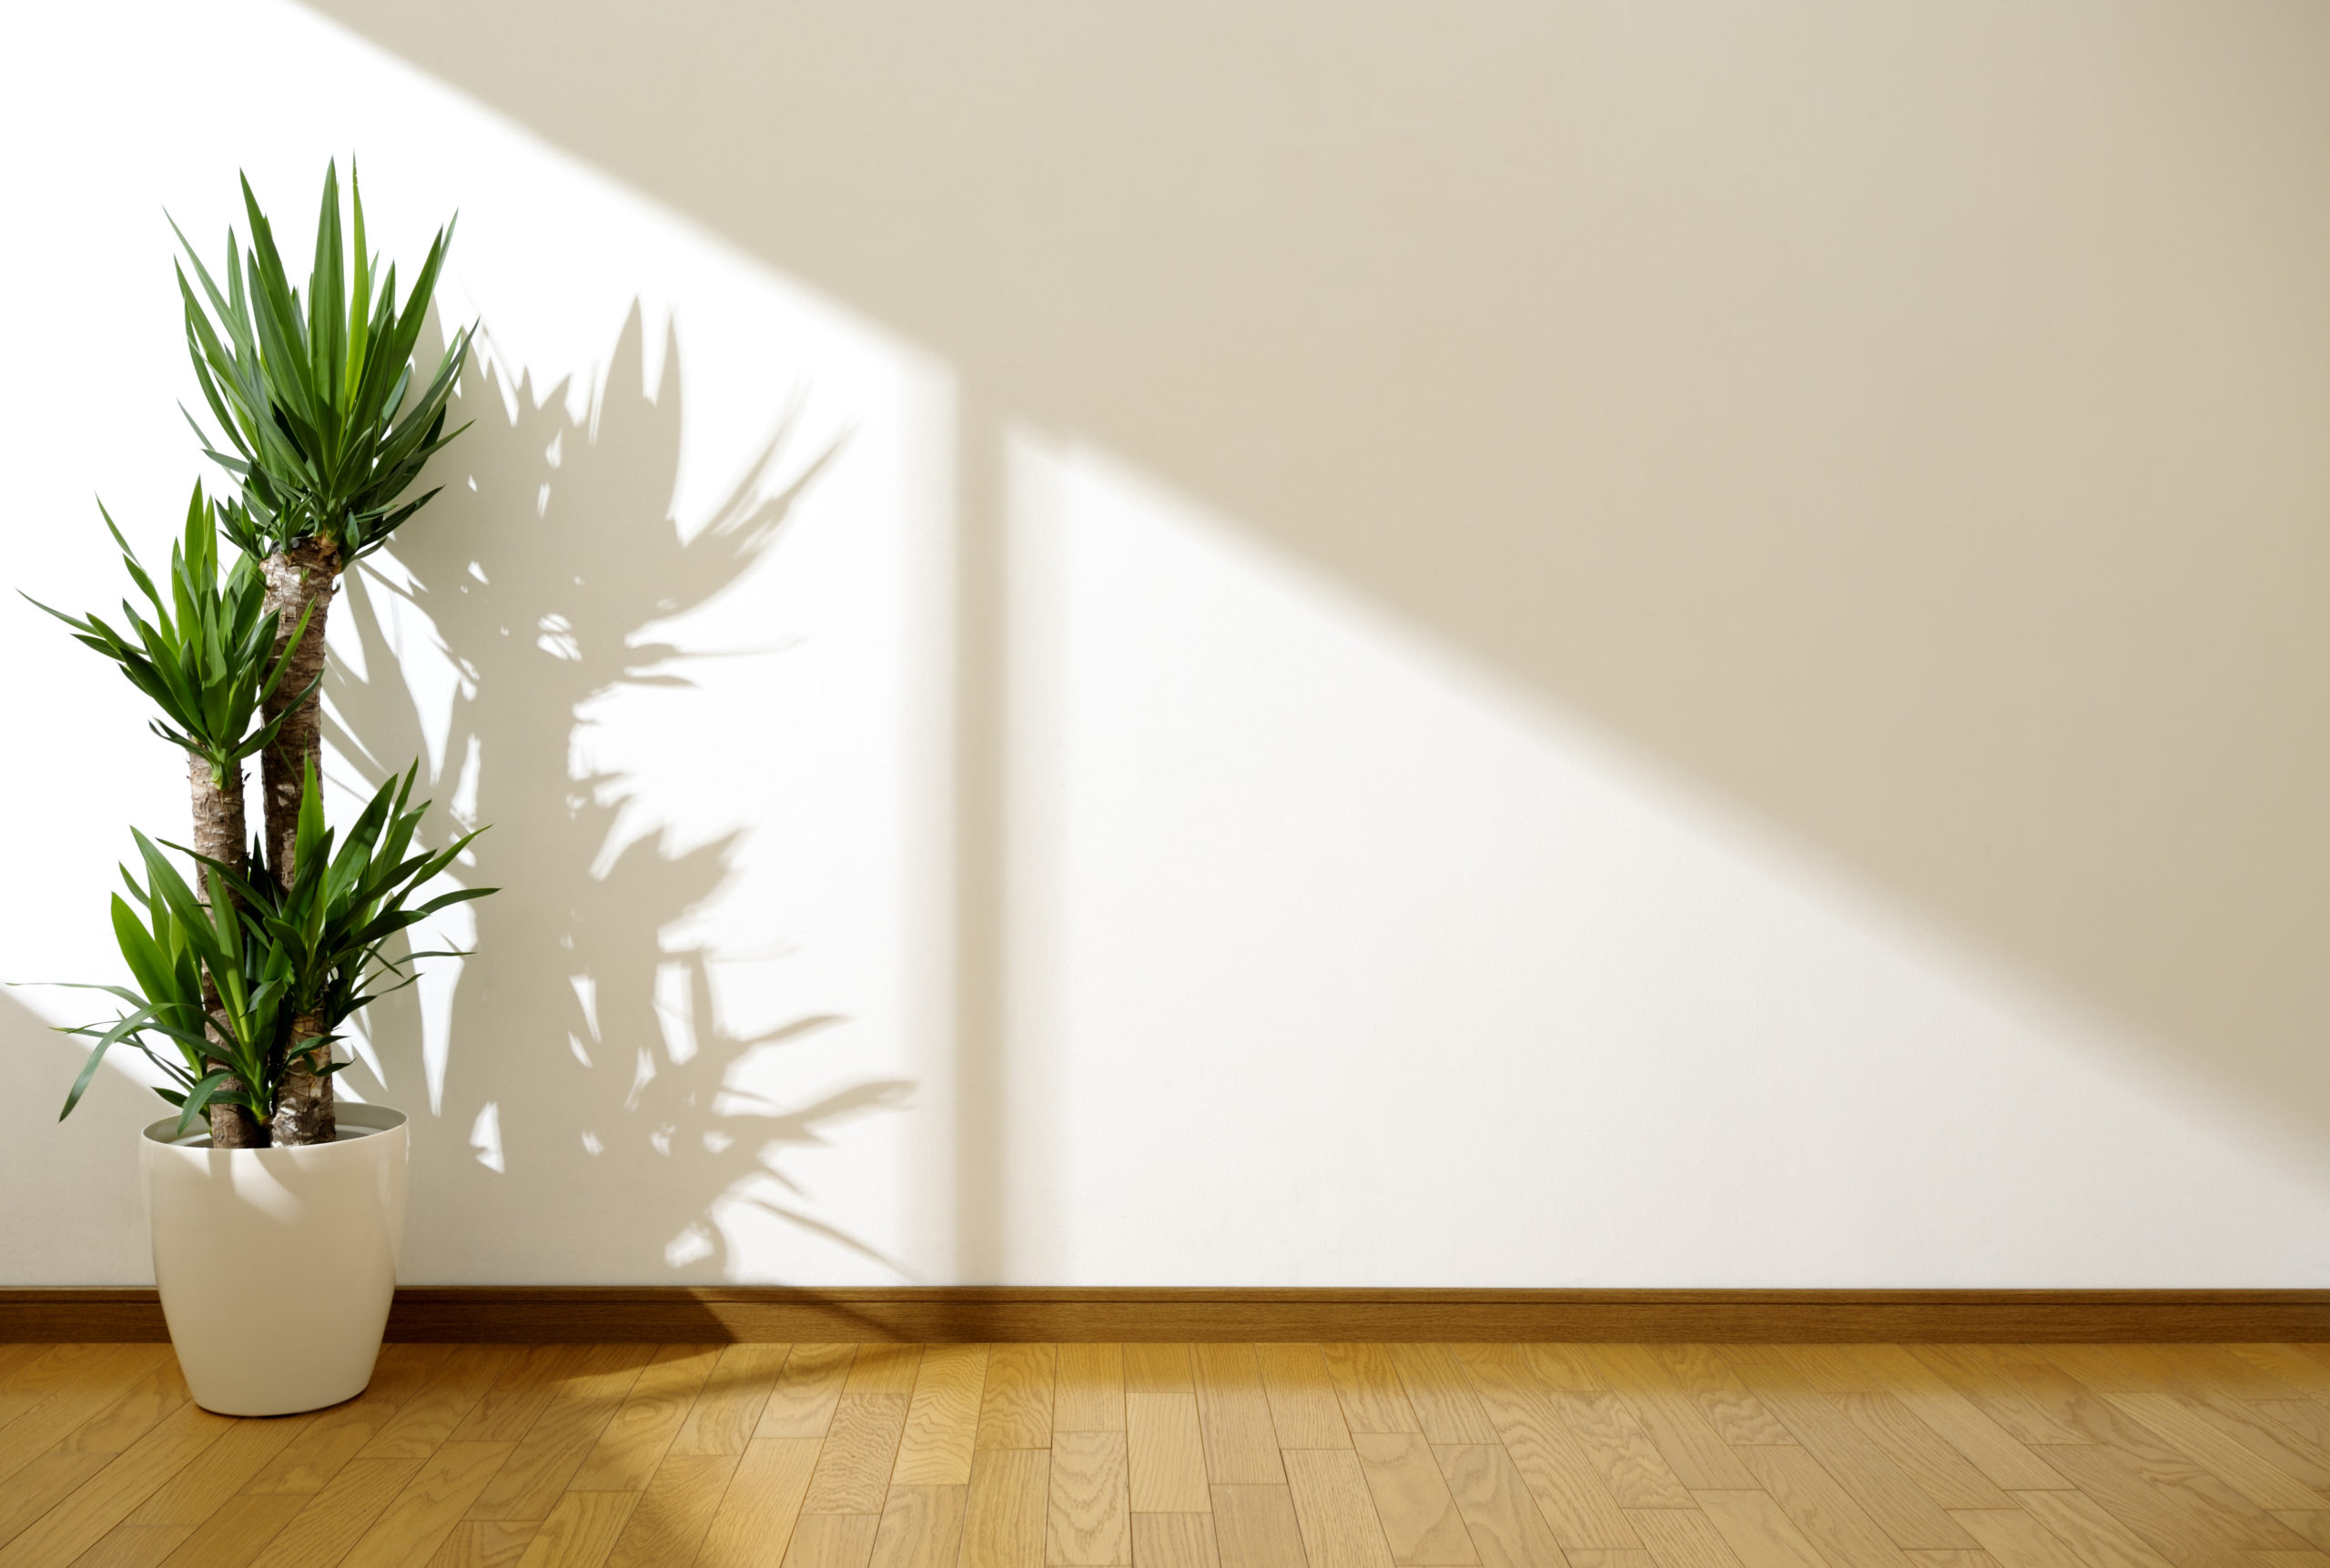
Doing research on not only plants, but your home as well will help you get a better understanding of which plants you are able to put in your desired space. Plan out what space you want to place your plant; figure out which space has the best light and is spacious enough to hold the certain plant you’re looking for. Knowing how much light gets into your home and what spaces will help the needs of your plant is the most crucial step in understanding how to help your plant thrive. Impulse buying is a real thing when it comes to plants and, at times, it is okay. But when you are a new plant parent, doing a little research will help tremendously in the long run to help your plant babies live a healthy life.

Start Your Collection Slow:

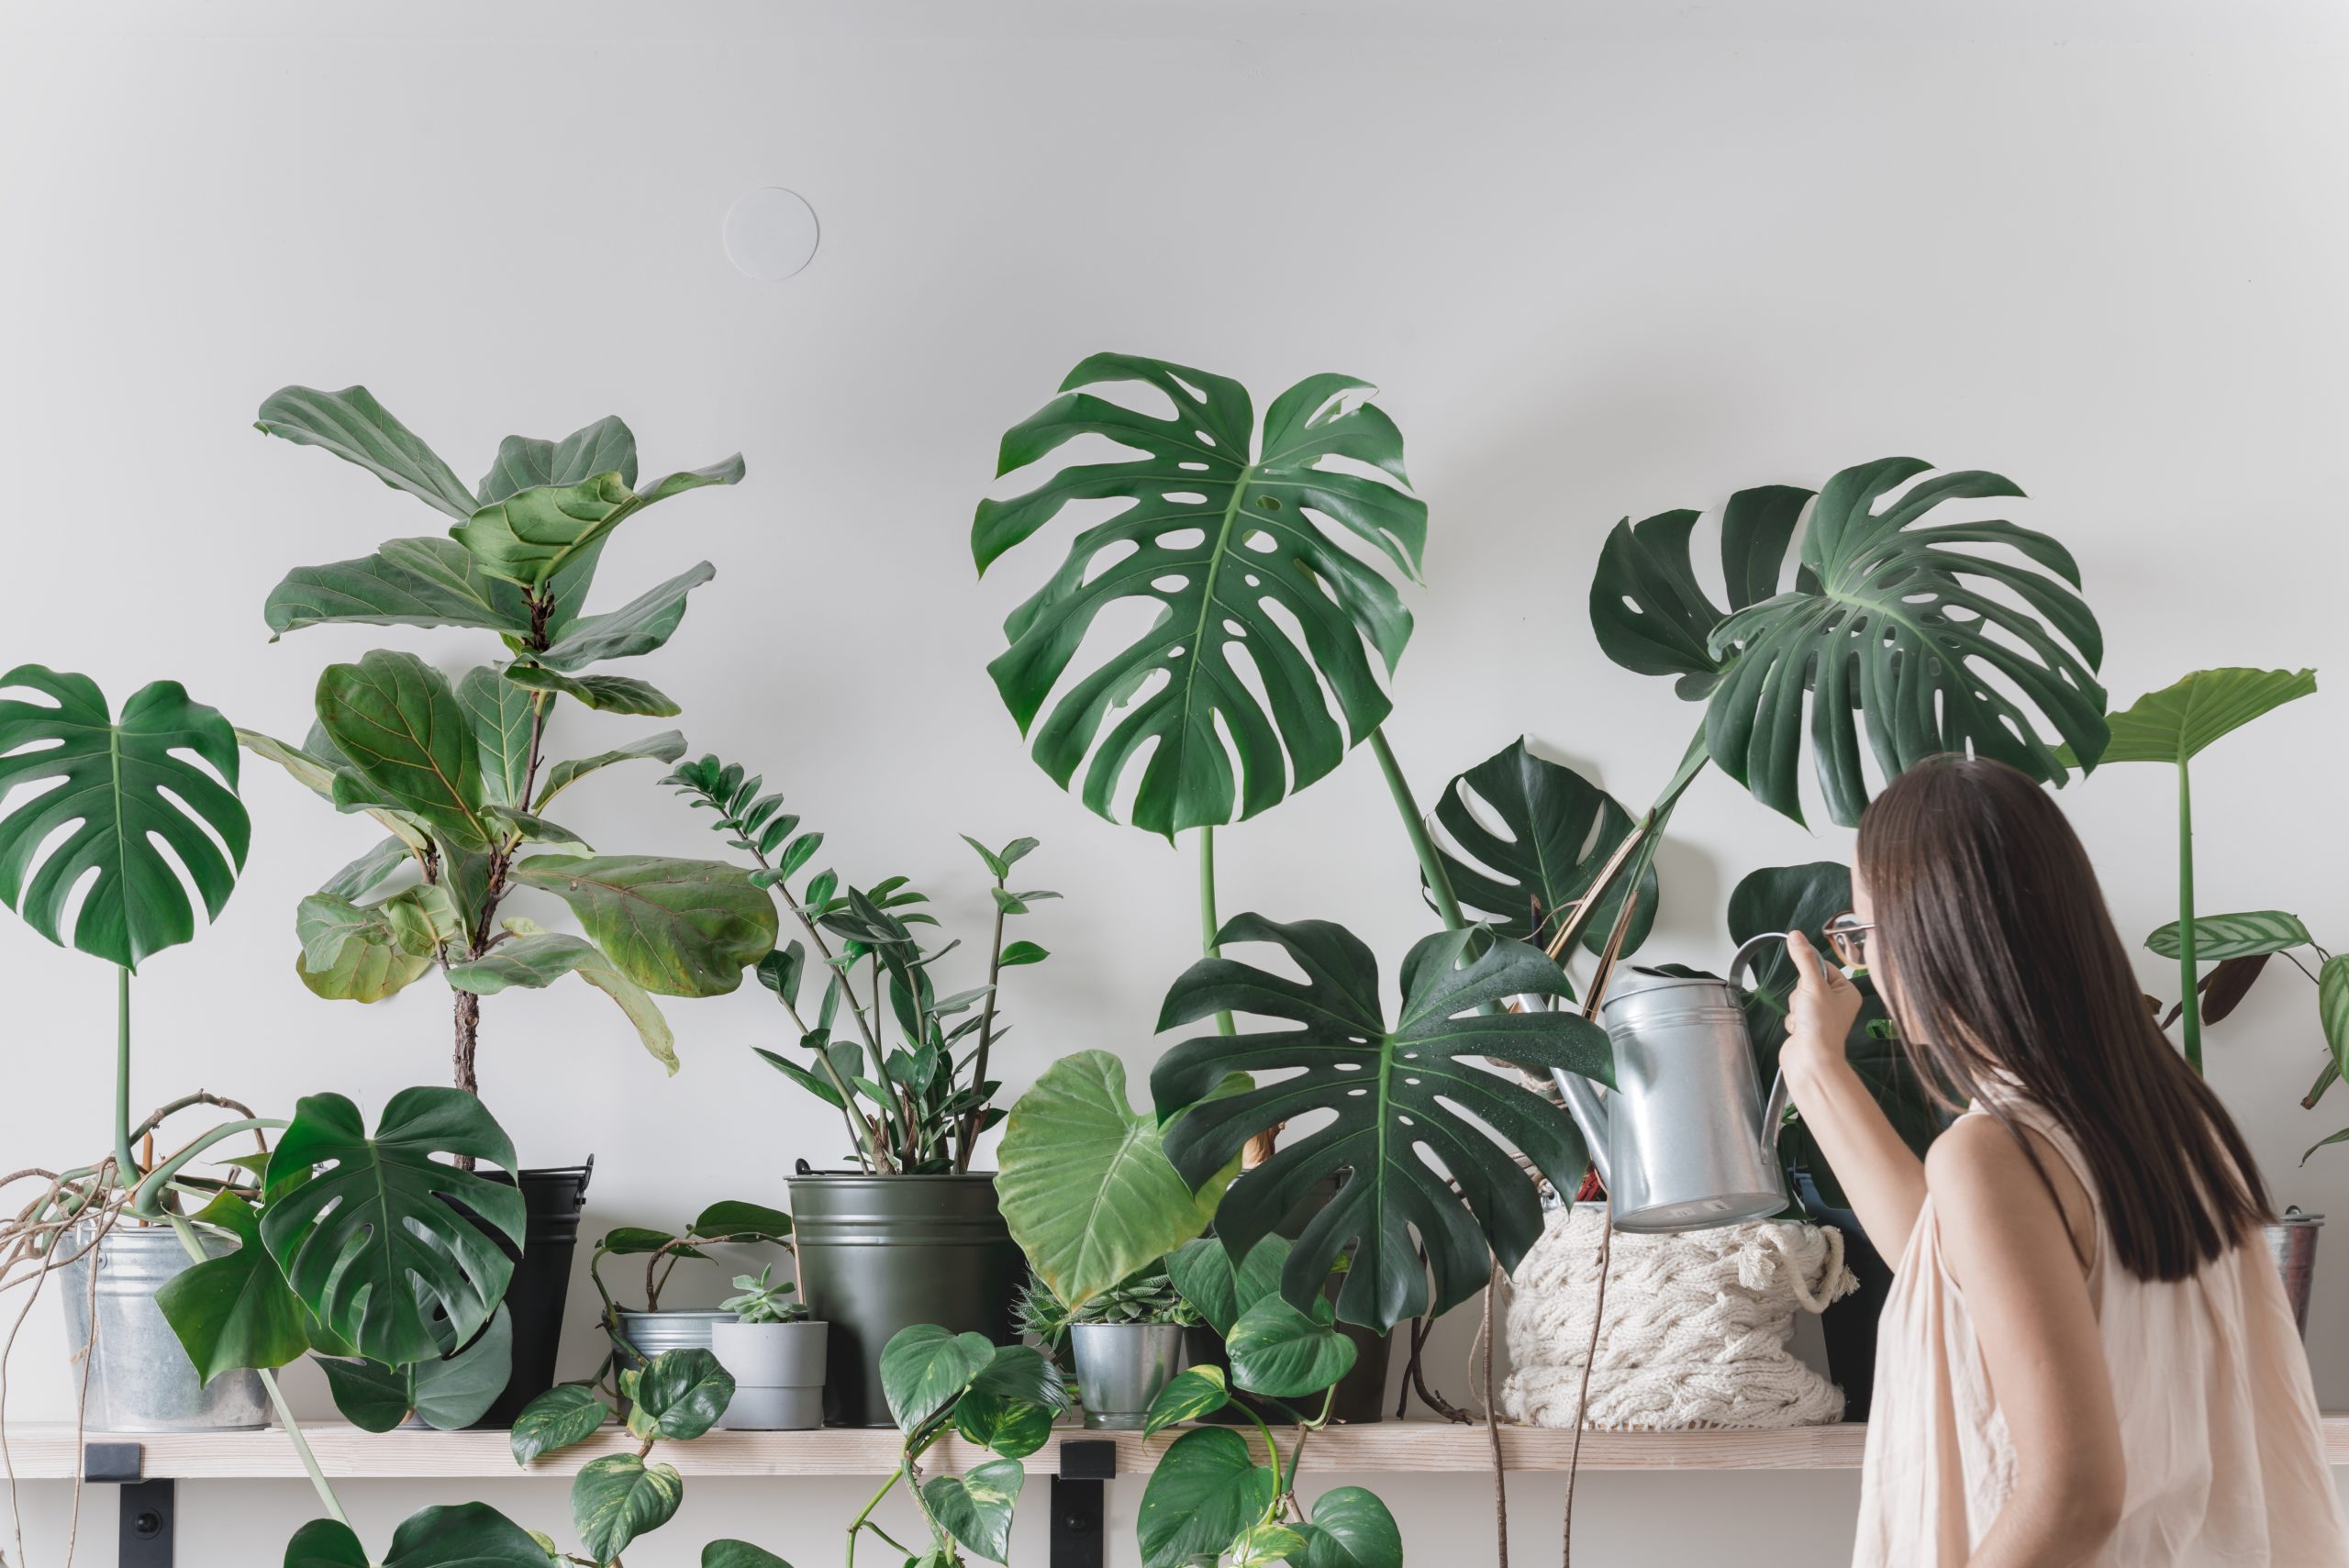
Once you become a dedicated plant lover, you will truly see how “addicting” buying and caring for plants can be. It can be an amazing feeling to see beautiful plants all over your home and transform your space into something impactful. But when you are just starting out in the plant-lover community, it is highly recommended to start small and start slow. Start with one plant and see how you do. See how you take care of this one plant and experience how the process works to get an overall feel for plants. If things work out, gradually get another plant or two until you feel comfortable caring for multiple plants at once. This is all a learning process in the beginning so if things get a little overwhelming, it is perfectly normal. That is why we recommend starting out with one plant, so you aren’t attending to four or five plants right away.

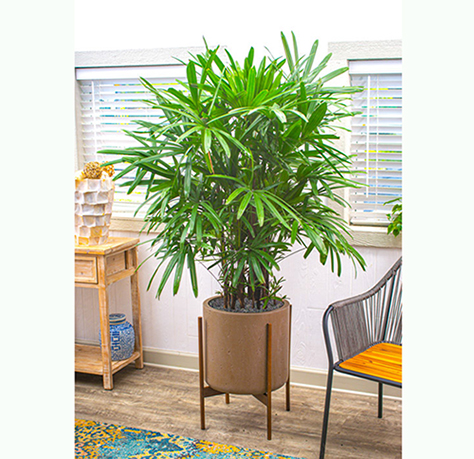
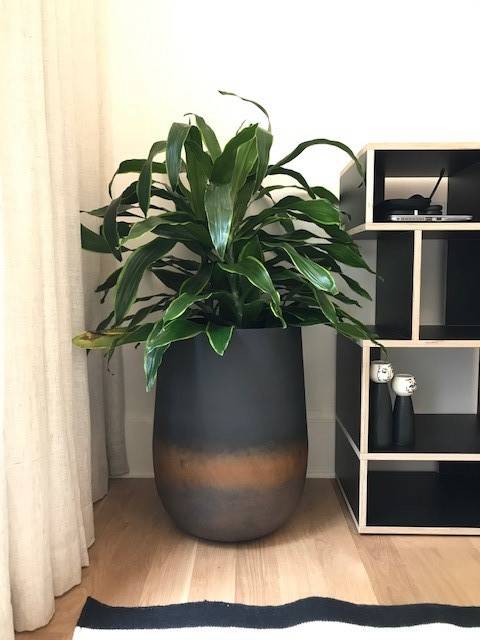
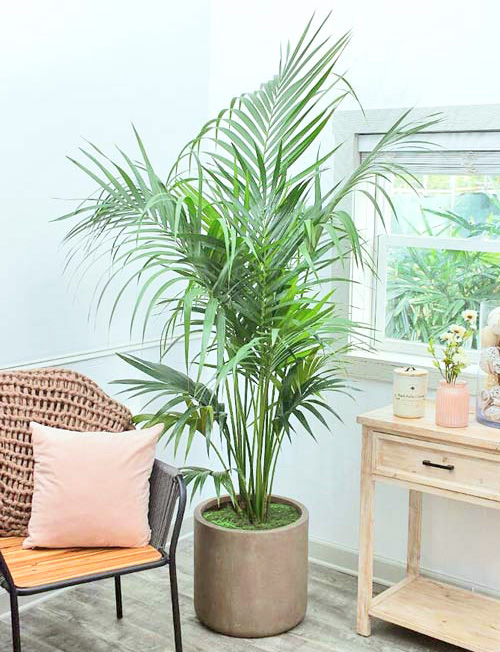
The Right Pot Matters:

Some clarification, first, on pots and planters for plants used indoors.  A growpot (or just “pot” is the plastic container that holds soil for your plant in which the roots grow.  It has several holes in the bottom or bottom/sides that excess water can flow out of.  A planter, on the other hand, is the decorative container that you place the growpot in.  It can be plastic, fiberglass, ceramic, and even concrete, but whatever its composition, the planter should match your décor and is designed to hide the (relatively unsightly) growpot that your plant was grown in.  With few exceptions, growpots have drainage holes; planters should not.

In order for plants to thrive, they need enough room for the roots to expand inside the growpot and uptake the irrigation water. Quality nursery-grown plants should come out of production with the roots making a ‘snug’ fit in the growpot – the roots should push against the sidewalls of the growpot.  Too few roots and your plant may not be able to stand on its own; too many roots, and then there’s not enough soil to hold irritating water in the rootzone.

A properly grown plant fit snugly in its growpot can be placed and “staged” in a planter, but be sure to get the right size.  Plants grown for indoor use (meaning they’re acclimated in shade houses to withstand lower-light conditions) are usually advertised for sale by the diameter of the growpot and, most of the time, the larger the growpot, the taller the plants.  For a typical growpot diameter of ten inches, you’ll want to be sure that the planter for this size has a twelve-inch inside diameter.  “Inside” is emphasized because some planter manufacturers will advertise the diameter and it’s actually the outside diameter.  The general rule of (green) thumb is to take the size of the growpot, and buy a planter whose inside diameter is at least two inches wider.

For more information on staging and professionally styling a plant and planter, check out this video:  Professional Styling a Plant.

Find the Water Balance:

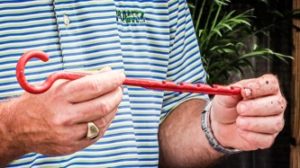
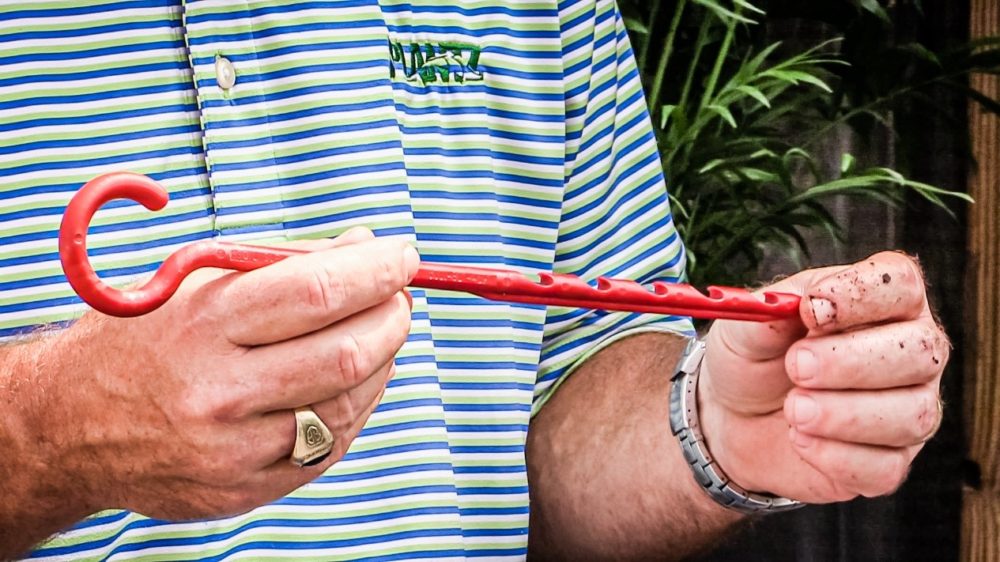
Overwatering and underwatering are problems even “professional” plant parents have trouble with at times. One key to a better understanding of this process is to let your plant “talk” to you. Most plants will tell you when it is time for watering.  But if you can’t initially tell, we recommend our “Soil Sleuth” tool. This is a key component of your plant care. The soil probe allows you to gauge the actual soil moisture level and water accordingly.

If the leaves of the plant look droopy, this is also a sign of watering being needed. Underwatering and overwatering can bring “stress” to your plants and ultimately can shorten their lifespan. For all watering tips, check out our Watering Guide to get a better understanding of how to water your next plant!

Plan for Bugs:

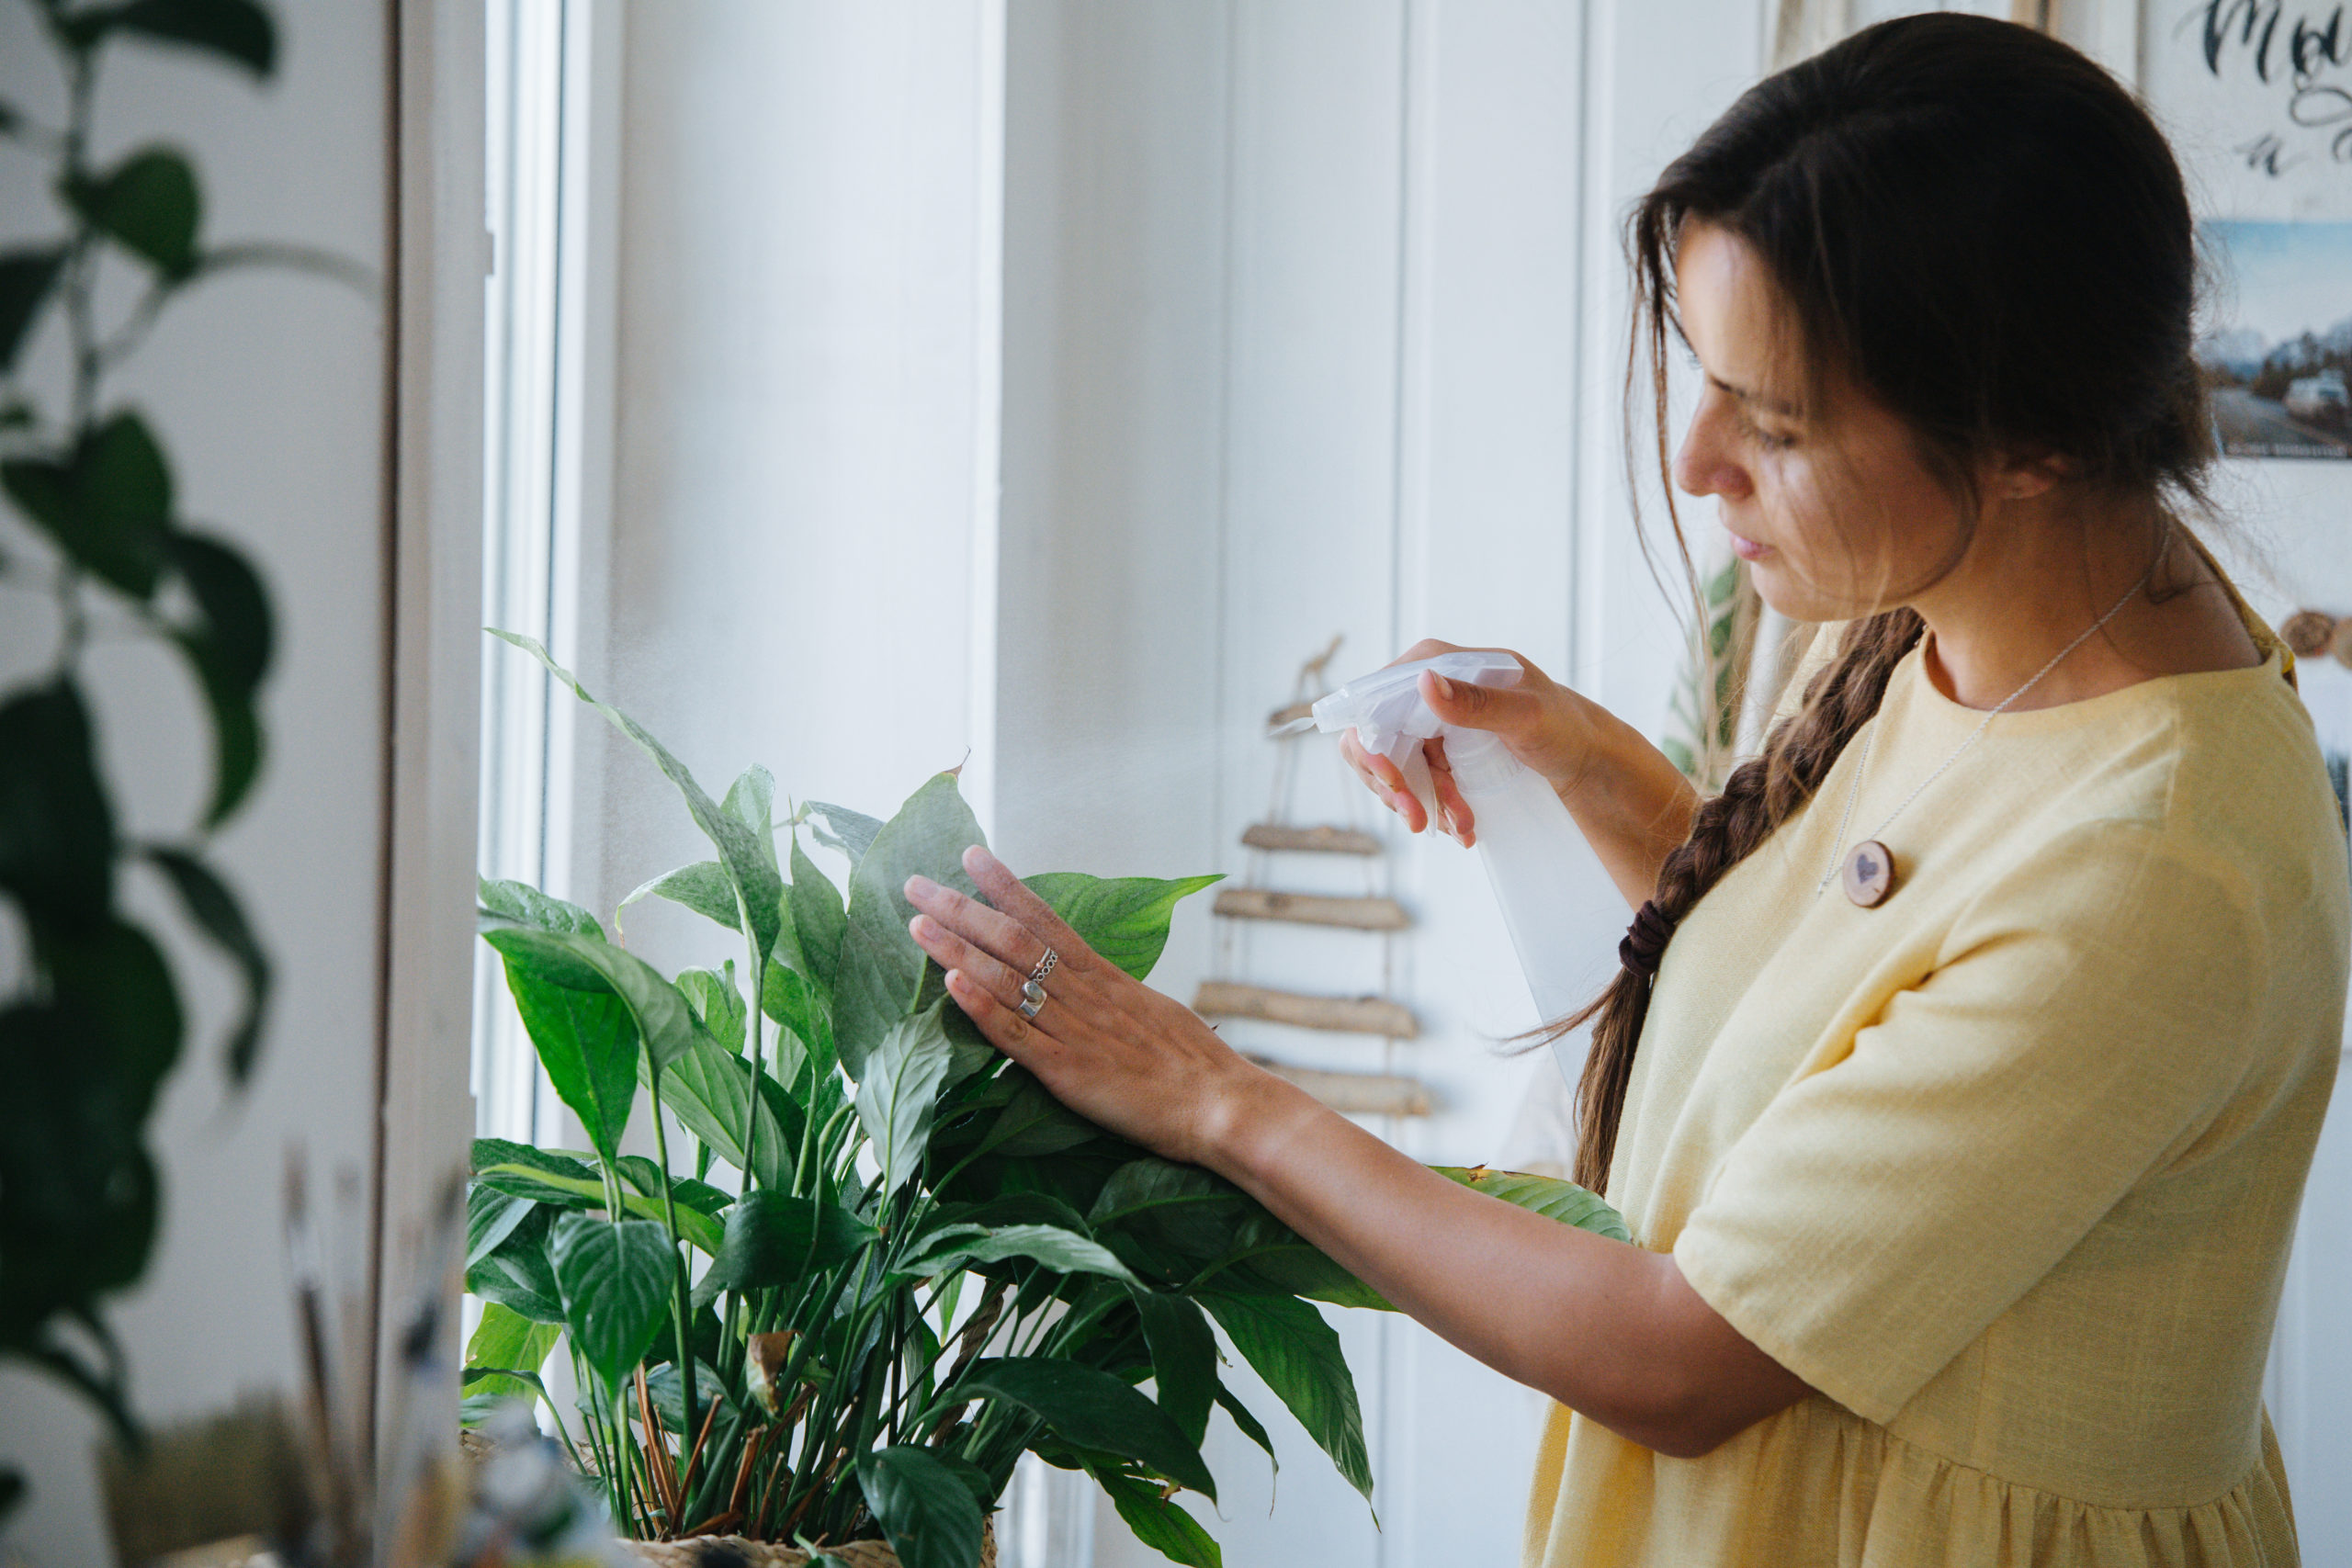
Caring for your plants properly doesn’t always prevent some pests from making their home on your houseplants. To help battle this problem, you need to notice this as soon as possible. Always thoroughly checking in on your plant and first glance of something wrong will help you catch the problem before it becomes worse.  We recommend spraying the plant with a mild soapy solution and wiping it off.  The soap irrigates the bugs and cleans the plant.  The wiping action will remove any insects present.  A clean plant is a happy plant, and the cleaning process keeps the bugs away too if pests are present. Cutting dead leaves and cutting back longer leaves can help prevent these pests as well. This will give the pests less space to expand on and give you a better view to notice them before they get worse. The key to combating this issue is to not freak out. Pests on plants are nothing new and were part of life before humans lived in houses, but this is an easy fix issue to ensure your plant stays healthy and beautiful.

Experimentation!

Just as being a normal parent and doing everything to keep your child happy, being a plant parent has some of the same responsibilities. Sometimes certain plants aren’t happy where they are initially placed. A change of scenery can make a huge difference in the growth process of your plant. If it isn’t getting enough sunlight, move it to a space where it will get more than enough. If your plant is getting too much sunlight and looks “dry” move it back a little into a new space with a little less light. This process becomes trial and error until you find the perfect spot your plant loves.

Engage with other plant lovers:

You should never be embarrassed to ask for help, especially when you are a new plant parent. Friends, social media groups, nursery employees, and companies that specialize in plants are all resources you should use to further gain your knowledge about being a plant parent. People who specialize in plants and have been doing it for a long time are more than happy to share their knowledge with this process. If you are looking for a company that dedicates its business to ensuring customer satisfaction, Plantz has you covered! Our team is always happy to help you with any knowledge and ideas to help ensure you are ready to become the perfect plant parent.

Frequently Asked Questions:

Do I need to clean my plants?

Cleaning your plants regularly can improve the overall well-being and lifespan of your plants. Plants accumulate dirt and dust if they are not cleaned on a regular basis. If an abundance of dust is present on the plant’s leaves, it can affect the amount of sunlight that is absorbed. This is crucial because this interferes with the plant’s ability to process available light, photosynthesize, and create carbohydrates for growth.

Be sure to be extra careful when cleaning your plants to ensure you don’t rip or tear the leaves of the plant. Spraying and wiping with a light soap solution is the most recommended way to clean your plants. It is important to mention that when you first notice dust and other debris on your plant, you remove it right away. Do not wait until a lot is present, as this will hurt the plant more than help it.

Should you water new plants once you bring them home?

Bringing home a new plant doesn’t mean it needs to be watered right away. If you bought your plant from a reputable company, they will have taken good care of these plants beforehand. Before you jump into watering your new plant, use a Soil Sleuth and always check the soil first. If there is a good amount of moisture still, wait until it is dry to start watering your new plant baby. Overwatering is one of the main causes of plants not living up to their potential. If you still are still unsure, the Soil Sleuth mentioned earlier will be your best friend in this process.

Should you repot plants you just bought?

Newly bought plants should remain in their growpot and placed in a decorative planter. It is very important to not yank the plant out of the grow pot to make sure the roots do not fall apart. Taking plants out of the growpot too soon can cause the following:

  • Brown tips
  • Drooping Leaves
  • Damage to the roots
  • Whitling

Introducing the plant to new pots and soil or giving the roots any disturbance can cause your plants to react this way.  If you purchased your plant from a reliable source, the plant should have been taken care of just fine to not be repotted for a while, if ever.

How do I become a better plant parent?

Becoming a plant parent brings a new sensation into your life that boosts your overall mood and leaves your space beautiful. The goal of becoming the perfect plant parent is to fully understand your plant. Figure out what your plant likes and doesn’t like, give it attention, and keep it as healthy as possible. Using a Soil Sleuth is the only way to know how dry your plant really is and how much water it needs. If your plant looks like it’s getting scorched by the sun, move it into another space where the plant will be more comfortable. The best thing you can do to become a better plant parent is to be attentive to your plant baby just as you would with a real baby. 

What plants should a new plant parent get?

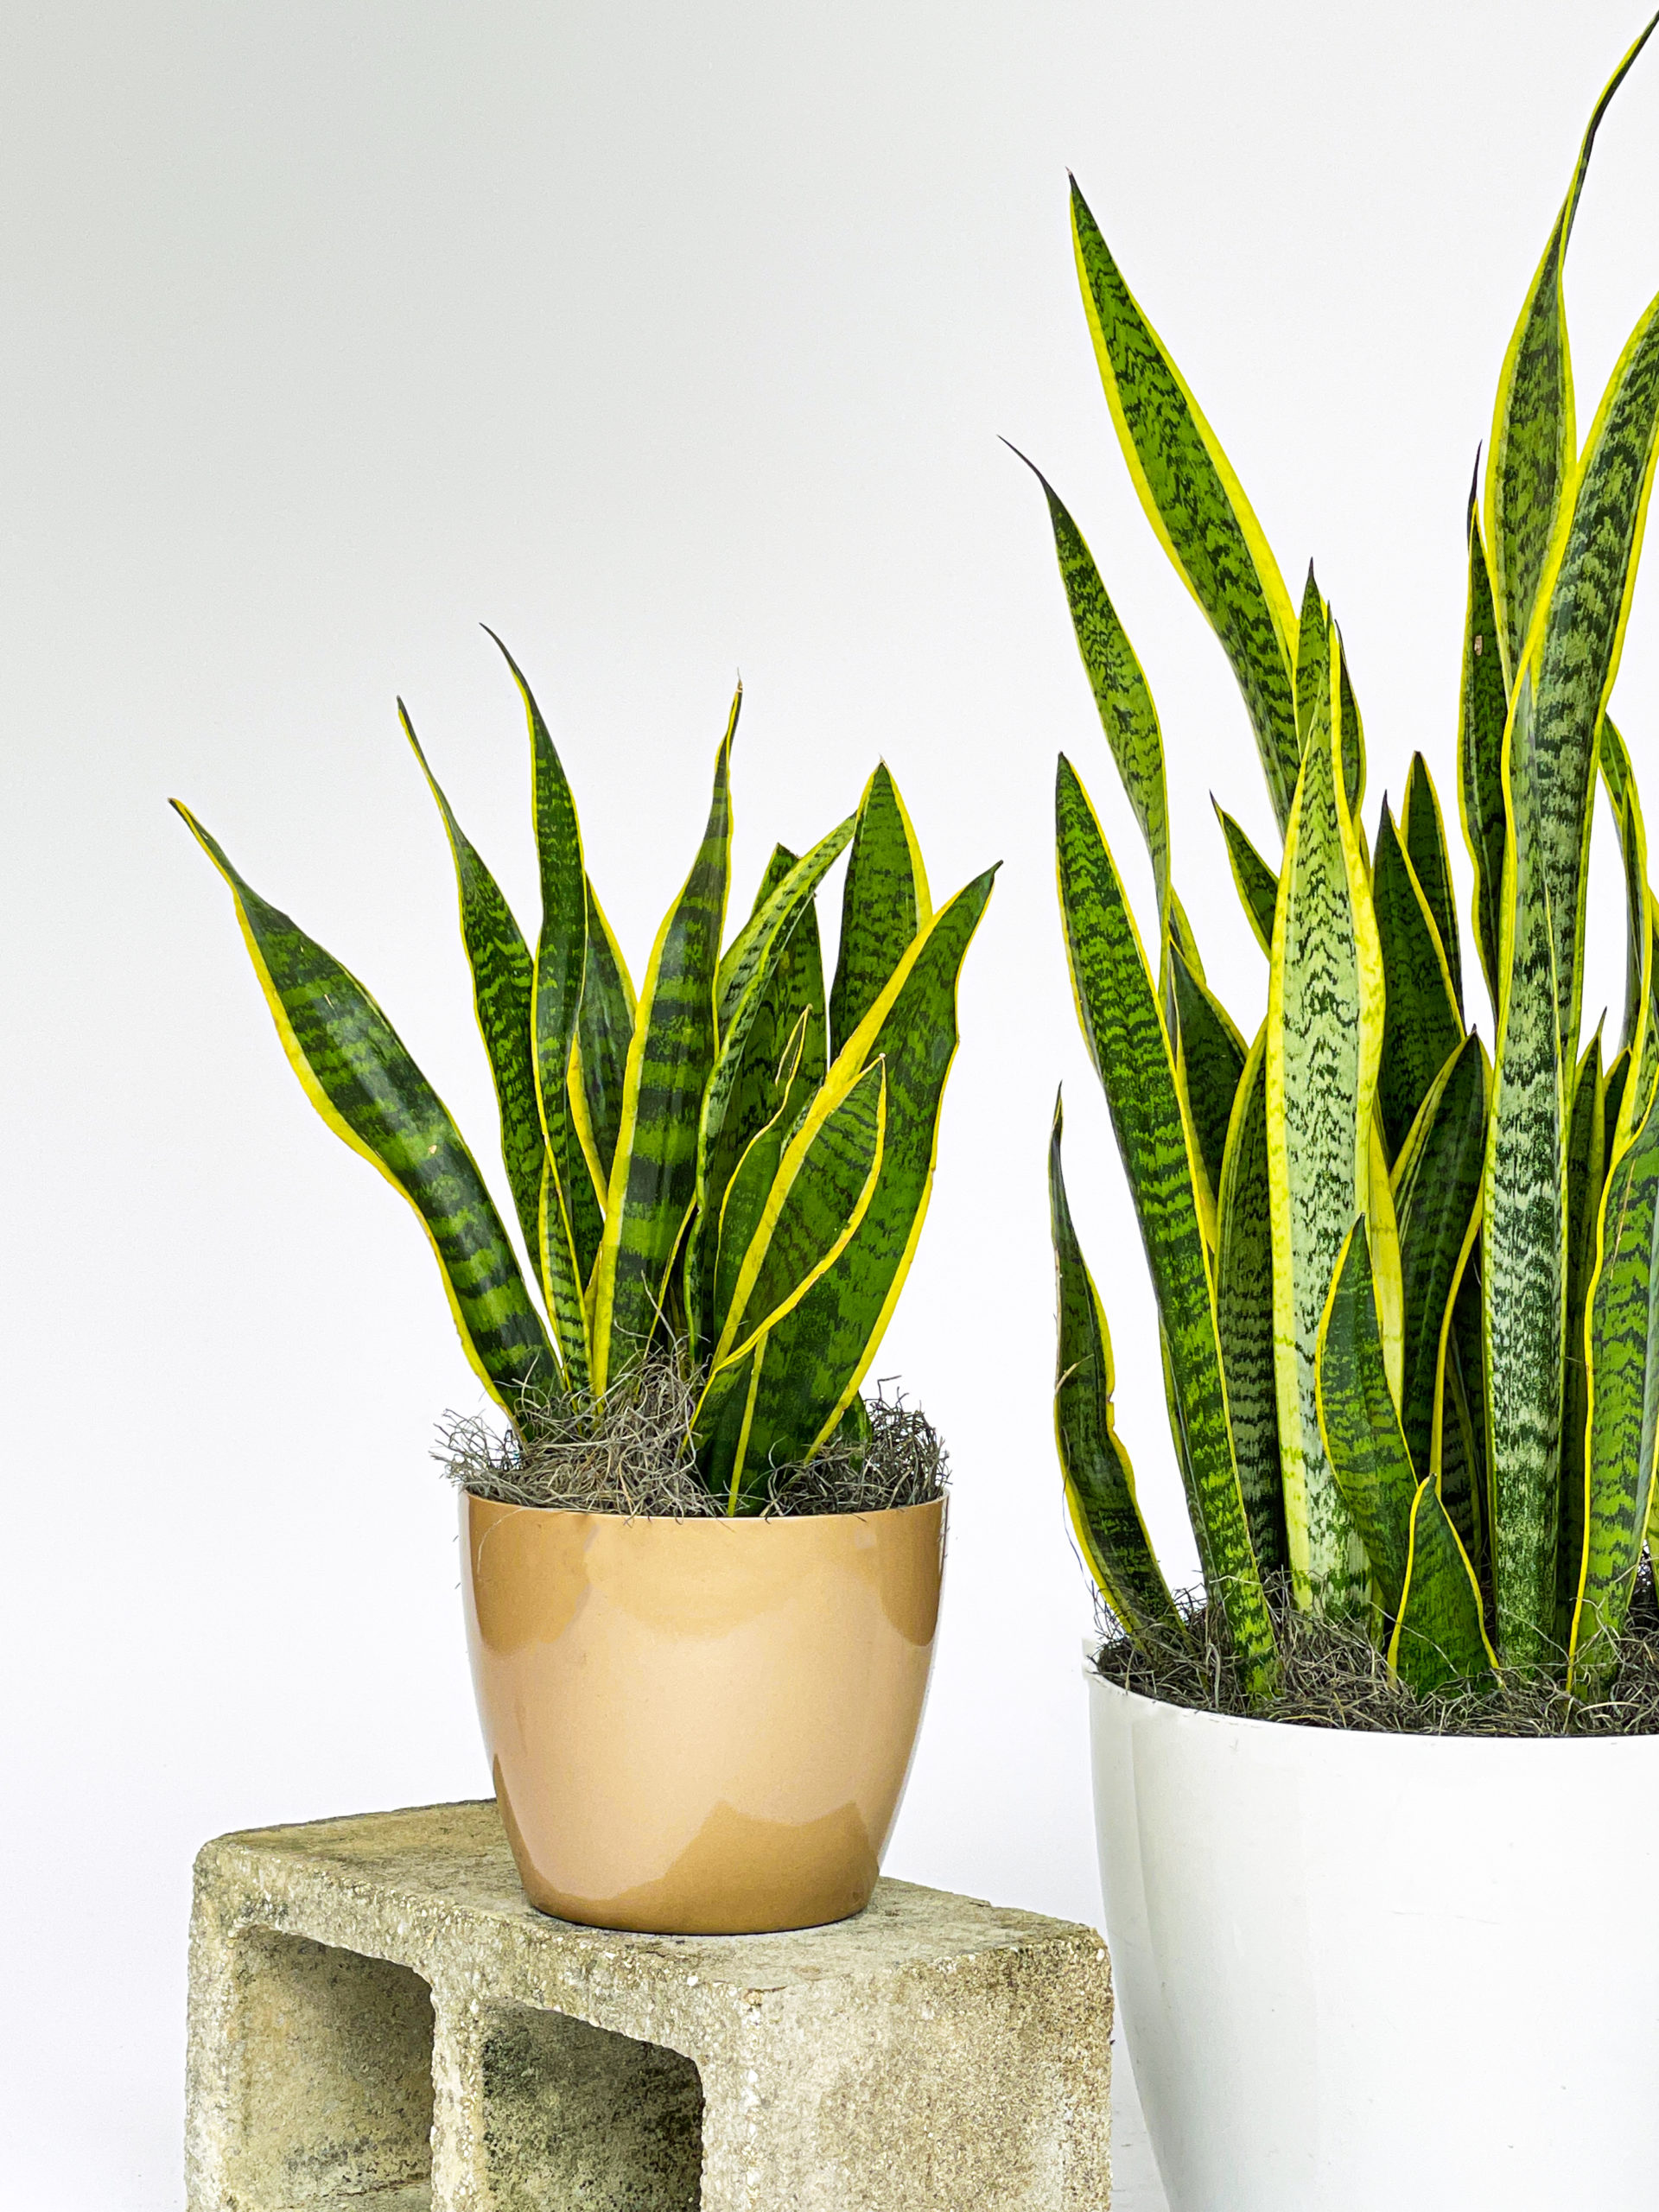
Low-maintenance plants should always be the number one choice for new plant parents. These plants are great because they require minimal care and attention, but also provide your space with something beautiful:

Plants can take a lot of effort to take care of. Making sure you’re watering and giving enough sunlight to your plants can be a hassle at times or become an issue if you are forgetful. If you don’t want to deal with these issues, check out these houseplants that are the easiest to take care of! Put them in any space you wish and watch them grow! Check out plantz.com for your next easy houseplant.

Becoming a new plant parent should be an exciting time, so don’t make it stressful. Plants can become impactful pieces to the space you choose and taking care of them can turn into something fun that you enjoy doing often.

While local nurseries will usually fit the bill, businesses like PLANTZ will exceed your expectations, offering plants of varying sizes in a wide array of containers to fit your décor needs. PLANTZ has professionals that are always ready to help you. From picking out the perfect plant and decorating needs, to giving you knowledge and tips to help you be a successful plant parent in the community. Take these tips into consideration if you are a new plant lover and be sure to visit Plantz.com for your next plant baby!

Five of the Easiest Houseplants to Grow in Any Space

Picking the right houseplant to go with your space is tricky enough. When making these decisions, choosing a plant that is also easy-care is a big factor as well. A plant that is beautiful and memorable, but also easy to take care of and not have to pay much attention to is the perfect combination for your next plant. Take a look at five of the easiest houseplants to grow in that spot you know just needs some green:

Monstera: 

Being one of the most trendy and popular houseplants today, the Monstera is the perfect plant for any space. What makes these plants so popular is that they are known for their easy-care and they thrive more in most indoor environments. To help these plants thrive even more, place your Monstera near a window with bright indirect light, water it when it needs it (see our watering guide https://www.plantz.com/product/monstera/ – for best results, and let the plant do the rest!

 ZZ Plant: 

Want a plant that barley needs light or water? The ZZ plant is your number one choice. This plant is great for those who tend to forget to water and give light to a plant. They are even known as drought-tolerant, so it becomes a perfect plant for forgetful plant parents. If you are a frequent traveler or need a plant to put in the corner of an office, the ZZ plant should be your first pick.

Sansevieria:

The Sansevieria or “snake plant” is one of the most unique looking plants. They are easy-care indoor plants that ask for nothing, but give you something beautiful to look at in return. These plants have water-storing rhizomes and succulent leaves which require very little watering and become adaptable to different living conditions they are placed in. Place these long, narrow plants on the table of your kitchen or on the floor of your living room and it will become memorable.

Aglaonema:

One of the most loved plants because of the numerous varieties, the Aglaonema is popular in businesses and houses with empty space to fill with this beautiful plant. Don’t let the size of these plants intimidate you because they are actually very easy to take care of. They can go weeks between watering and can be sustained for long periods with indoor lighting. Place this amazing plant by a window and have a plant friend for a long time!

Plants can take a lot of effort to take care of. Making sure you’re watering and giving enough sunlight to your plants can be a hassle at times or you become forgetful. If you don’t want to deal with these issues, check out these houseplants that are the easiest to take care of! Put them in any space you wish and watch them grow! Check out plantz.com for your next easy houseplant.


How Too Much Light Affects Your Plants

Plants need light. It’s a simple statement, and it’s true. But it’s actually a bit more complicated than that. While light is necessary to create the energy needed to bloom and blossom, light requirements go beyond a yes/no option. Just as a lack of light will hurt your plant, so will getting too much of it.

And “too much light” has different designations as well. Too much light can refer to the amount of light a plant gets, as in the duration of light exposure. Several hours of consistent light can be bad for certain plants, and can actually inhibit their growth. Plants require periods of both light and darkness to keep their metabolism and blooming phases in balance, and when they get too much light, those patterns are disrupted. While some plants need less darkness time than others, too much light will impede any growth schedule over time.

Too much light can also refer to the intensity of the light. Intense, direct light is great for some plants, but it will damage (or even kill others). The plant isn’t able to convert all of the light into consumable energy, and the excess creates a heat issue over time. The plant might use available water to cool itself, which creates a moisture shortage as well. The soil dries, and the plant suffers from both excess heat and dehydration.

Causes

Plants receive too much light for various reasons, and a little education can help plant parents avoid putting them in dangerous situations. In many cases, the excess light is unintentional. People are simply unaware of a specific plant’s needs and place it in the wrong area of a living space. Whether a plant needs direct or indirect light, or minimal exposure as opposed to a more consistent routine, knowing what conditions encourage healthy growth is key to keeping your plant alive and thriving.

In other situations, misinformation or poor decisions can contribute to excess light exposure. Putting a plant in direct or extended light in order to encourage a growth spurt will often have the opposite effect, and damage your plant. Standard LED lights do not offer the same benefits for plants as they do for people, and do not spur the same growth habits as other light. And while using a grow light can be beneficial, they can also burn plants if they’re used improperly or placed too close to them. In an attempt to use extra light to help a plant and keep it healthy, these examples can cause a great deal of harm instead.

It’s also important to know the consequences of failing to meet a plant’s light requirements, and what happens if they get too much. In some cases, they simply won’t grow as fast as their cycle is disrupted. But in many others, they might suffer serious damage or die. Each plant’s sensitivity to low, moderate, or bright light should be considered, with care taken to make sure they’re placed in an environment that can meet their needs.

Signs of Too Much Light

 Fortunately, your plant will let you know when it’s getting too much light, and often there’s enough time to correct the problem.

The parts of the plant exposed to the excess light will show physical symptoms. You might see the leaves droop before changes in color appear. Then pale or brown spots, or yellowing leaves can occur, even as the veins remain green and looking healthy. Dry patches and a browning of the tips of the leaves might become prominent as well. Wilting is common in younger specimens, and many plants curl downward as the exposure continues, as well as a reduction in growth. Even if you don’t monitor your plant every day, you’ll notice these signs over time.  

Solutions

The obvious solution is to take your plant out of the dangerous environment, but there’s more to it than that. It’s important to be mindful of light changes in a room as the seasons change. Light can become more intense from certain windows at different times of the year, meaning a formerly-safe place for a plant might become harmful. The plant needs to be in an area where its light needs are met, but still safe from getting too much, and that might mean moving it to a different part of the room, or a different room entirely. The specific type of plant and the layout of your home will determine the best course of action.

Finally, you can avoid overexposing your plant by simply knowing what it needs before a problem arises. When you choose a new plant for your home, know what type of light it needs, and give it the right spot from the beginning. And if you have a place in your home that could really use a beautiful plant, you can choose one that fits the lighting that already exists. Whether you choose a spot based on the plant, or vice-versa, knowing what’s required will avoid problems later and possibly save the plant itself.

Further Assistance

You aren’t expected to have all the answers. Fortunately, you know the people who do. For decades, the experts at PLANTZ have been matching the right plant with the people who love them. Whether you need advice on keeping a specific plant healthy, or you want some guidance on how to spruce up a specific part of your home, we can help. Just use our contact page to begin the conversation.


The Best Ways to Train Your Monstera Deliciosa to climb 

A good plant can add beauty and character to a living space, but the perfect plant can actually become a part of it. It becomes more than just an affectation. It’s part of what defines the room and makes people want to spend time there.

To really transform living spaces, the monstera deliciosa can be the perfect plant for its lush appearance and ability to climb. As it grows, you’ll see it take up more space in a room, giving a plain-looking room a tropical aesthetic. It’s an eye-catching addition, and a beautiful, live piece of decor.

But you can’t just set your monstera deliciosa down and watch it take over. It needs your help to get it to grow the way you want. Fortunately, there are tools to help give your monstera the support it needs to grow to your preferences. With the right setting, you’ll have a happy, healthy plant providing the exact look you want. Follow these tips to get the most out of it:

Offer Support

If you want your monstera to grow upward, it needs something to grow on and some help staying vertical. A successful option used by many plant parents is a moss pole. The moss provides an organic form of support, and the monstera’s aerial roots will attach to the pole and help guide it upward. Ideally, you’ll introduce the moss pole early in your plant’s life cycle and before it has already established a growth path.

To encourage your monstera to use the moss pole, you can use twine to attach it. You’ll want to utilize multiple points so if it leans, the twine won’t cut into the stem. Over time you’ll see that the moss pole isn’t actually propping your plant up; it’s providing a stable base it can use to attach and climb on its own. Once you’ve trained your plant to use it, nature will take over and it will be growing upward.

You can buy moss poles from several vendors, but some plant parents choose to make their own so they can create the look they want to accompany their plant. The actual pole is usually made of wood, metal of PVC piping, so you have options as to which one best matches your decor. Whether you buy one or make it yourself, a moss pole can literally get your plant headed in the right direction.

Try a Trellis

Once your plant is going vertical, you might want to see it spread out a little (or a lot) to gives the room an exciting and natural feel. You can accomplish that goal by adding a trellis and indulge your creative side at the same time.

Like a moss pole that allows your monstera to attach and travel upward, a trellis gives it the same ability to attach and spread out across a designated area. A small trellis can be added to a potted plant to provide added structure, while larger ones can allow it to move farther across the room within set parameters. And because you’ve given it support and direction, it will accommodate the design you want.

And for the really fun part: The trellis can become part of the room’s decor. It can be made out of various materials and painted any color you like. It can be a stand-alone piece, part of a coordinated collection of matching trellises, attached to a wall or a door, and placed in any space you want your monstera to occupy. The bigger the plant and the bigger your imagination, the more options you’ll have.

Other Tips

Watch the wall. Monstera deliciosa will even grow on a wall if it’s close enough to attach, and you can use hooks or gardening tape to encourage this type of growth. But while that can make for a pleasing look, wall growth can also be a challenge to detach. You might lose paint in the process or be unable to remove it without damaging the plant. It’s another good reason to consider a trellis, or at least be mindful of where your monstera is growing.

Pruning possibilities. Another way to guide your plant in the direction you want is with pruning. As your monstera grows, it might reach for new directions, some of which aren’t part of your planned design. You can guide your plant with some judicious pruning but be careful not to overdo it. Always cut at an angle, with some distance from the node.

More Questions? PLANTZ Has Answers

If you have more questions about the monstera (or any other plant), we’re here to provide the information you need. Feel free to contact us with your toughest plant-related questions, and we’ll be happy to help.

Sunlight and Your Plants

Aside from soil moisture, sunlight is perhaps the most important factor in determining the health of your plant. Some plants need more than others, and some thrive with extended exposure while others suffer. But when it comes to caring for your plant, sunlight is one of the top considerations.

And, like water, plant parents might make the mistake of providing too much in their efforts to make sure the plant gets enough. And that can be just as damaging to the plant. Sunlight is not a yes/no option when it comes to good plant care. What kind of plant, how much sunlight do they need, what kind do they need, and the effects of too much and/or not enough all play a role.

Here’s how to make sure you’re providing the best sunlight environment for your plant.

Type of plant

It sounds obvious, but too many people get a plant without truly knowing its needs. Some plants thrive in direct sunlight, while others merely tolerate it. Knowing it’s okay to give your plant direct sunlight is not the same as knowing if that’s the best thing for it. Eight hours of light will have a different effect than two hours. And some plants do very poorly in an environment with a lot of light. They might need no direct sunlight at all for healthy growth, relying solely on artificial light.

Every plant is different, with different needs and different optimal conditions. Knowing what your specific plant requires is critical to keeping them healthy.

Know your house

It might also seem obvious that plant parents know their own house. But subtle changes to a room can have a dramatic effect on plants that live there.

Many people find the perfect plant for a specific room, give it a great spot and then simply enjoy it. But even if they never move the plant, room conditions can change. Seasonal changes might cut down on available sunlight. A room that consistently received six to eight hours of sunlight might only get a couple each day. And during some seasons, longer nights and cloudy days might turn a high-sunlight room into one with very few opportunities.

The opposite might also be true. A plant that doesn’t need as much sunlight might find itself in a less-than-optimal situation. Hours of extra sunlight can be great for some plants, but less helpful for others. The perfect room at one time of the year might provide a negative environment just a few months later.

Those seasonal changes also affect the indoor heating and cooling schedules, which can impact a plant’s water needs. When you throw in changes to sunlight opportunities, it disrupts the schedule to which your plant is accustomed, making damage more likely.

Light intensity

Even if you only expose your plant to the number of hours of sunlight it needs, the intensity of the light can impact its health. Hours of contact with a blazing sun is very different than moderate sunshine. Even artificial light can make a difference, both good and bad. A plant that thrives in low light will suffer if the room is brightly lit, even if it isn’t exposed to much direct sunlight. But a plant that needs light can usually still benefit from artificial light, though it might do better in natural light. While some plants can tolerate intense light, it can be dangerous to others. Again, knowing your plant and its reactions to light duration and intensity is important.

Looking for trouble

Be on the lookout for signs that your plant is in distress, either from too much sunlight, or not enough. In many cases, you’ll see clear visual cues. A plant that isn’t getting enough light might have small leaves and skinny stems, with wide spaces in between the leaves. Plants will also lean toward a light source if it isn’t getting enough.

Signs of too much light include yellowing or browning on leaf tips, or dry, brown patches on the leaf. Wilting is a symptom of many dangers, including too much light. These signs will be seen most prominently in areas of your plant that are receiving the most light.

PLANTZ Can Help

Not sure if a certain room is a good fit for the plant you want? What plant goes with your locale and home décor? We can help you choose the right plant and keep it healthy for years to come.

There are places where you buy a plant and take your chances. But at Plantz, we use our expertise and experience to make sure the plant you choose is the right fit for you. You’ll get a great plant from us, shipped safely and securely, with all the information you need to ensure you’ll get the maximum enjoyment out of your purchase. Simply use our contact page for more information.


Are you “Watering” your plants correctly?

Watering Your Plants, the Right Way 

Women Watering Plant in Home

 Making sure your plants have enough water is the most important thing you can do to keep them alive. Like all living things, water is essential to survive, so any good plant parent knows that watering your plants is necessary to keep them happy and healthy.

Unfortunately, it’s also a common way to hurt or even kill your plants.

While people understandably want to make sure their plants get enough water, those good intentions often cause them to overwater. And while they know that under watering a plant is bad for its health, they might not realize the damage done by overwatering. In a best-case scenario, the plant looks unhealthy and droops or wilts as root rot sets in. But in many cases, the roots literally drown in too much water and the plant dies.

Caring for a plant means more than making sure it has water. It needs the right amount of water, delivered at the right interval. Want to do right by your plant? Here are methods to avoid and one that will ensure you take care of your plant, no matter what type you choose.

What Doesn’t Work

Finger test. It’s a common method, but also inaccurate and often dangerous. Sticking your finger in a plant’s soil to determine whether it needs water is common, but certainly not the best way to keep your plant alive and thriving. Our fingers are not designed to be accurate soil moisture tools. You can tell if it’s damp or bone dry, but in between are a host of moisture levels that will determine if your plant needs watering. Also, your fingers don’t usually reach down to the roots, where the plant draws its nutrients and is in jeopardy of rot or drowning. There are better ways to check for moisture.

Rigid schedule. In our busy lives, it can be hard to make time to check everything around the house as necessary, so we make schedules for routine chores and maintenance. That can include watering your plants, but if it’s too rigid, it can carry risks to their health.

Plants are living things, of course, and they all have variables that can affect when they needs water. Your plant’s age, height, and overall health will all play a role, as well as the current season, the climate in which it lives and the sunlight it receives. Any schedule needs enough flexibility to take these changes into account, so adjustments can be made to keep your plant in optimal health.

What Does Work

Know your plant.  Knowing the special needs of the plant you choose is essential to making sure it’s watered properly. When you buy from Plantz, we make sure you have all the knowledge and tools to give your plant a great head start. You can also supplement with your own research and understanding the differences between your plants will help ensure they all receive the proper care and attention.

Different plants also react differently to overwatering. While it’s never a good thing, some plants are more sensitive than others. Knowing the impact that overwatering has on that particular plant will help guard against making that mistake.

Know the environment. Knowing your plant includes knowing the circumstances in which it lives. As previously mentioned, temperature, climate and sunlight can have an impact on water needs, so recognizing when those factors change (perhaps as seasons change, depending on where you live) will help you water properly. The more variables you consider, the better the watering schedule and the healthier the plant. You’ll also be less likely to underwater or overwater.

Look for changes. While a plant can’t tell you when it receives too much water, it can show you. It’s always a good idea to recognize the physical signs of overwatering and inspect your plant for signs of damage. You might see discolorations as cells burst, or leaves turning brown and wilting. Unfortunately, the latter can also be signs of underwatering, so plant parents might mistakenly make the situation worse if they misinterpret the signs. Again, knowing your plant and how much water it normally needs is key.

What Always Works: Soil Sleuth 

For fast, accurate information to ensure you’re only watering, when necessary, we recommend the Soil Sleuth, which you can get right here at the Plantz website. The Soil Sleuth is an easy-to-use tool that can reach deep into the soil and let you evaluate moisture at five separate levels. Simply push it into the soil, turn, and bring it back up. The notches collect a small soil sample you can evaluate to gauge what the moisture level is like closer to the roots. It’s fast, accurate and actually aerates the soil as it works. It’s great for indoor and outdoor plants and is sturdy enough to work in whatever type of soil your plant uses.

Best of all, it takes the guesswork out of watering your plants. You get a real-time evaluation of the moisture each time you use it. Knowing your plant’s unique needs and using a tool like the Soil Sleuth will eliminate the common problem of overwatering.

More Questions?

If you have more questions about watering plants or other topics, we’re here to help. Just use our contact page for a prompt response.


How to Care for Your Ponytail Palm

At PLANTZ, we have a wide range of plants for just about any type of home. Now we’d like to introduce you to a very special plant that requires little maintenance but loves light.

We’re talking about the Ponytail Palm.

It’s a beautiful plant that has a few surprises (it’s not actually a palm, for example) but can add a new level of décor to just about any room. The Ponytail Palm is also known as the Elephant’s Foot Plant, and while neither name is truly accurate (it’s a Beaucarnea recurvata, to be precise), there are very good reasons why it has those names.

It’s a Ponytail Palm because the leaves, when grown out, resemble a pony’s tail. And it’s known as the Elephant Foot Plant because the stem’s base will swell to an unusual shape, sometimes resembling an elephant’s foot. The swollen base retains moisture in preparation for the dry season in its native eastern Mexico. While unusual in its own way, it also has a comfortable, attractive look that fits in with a variety of home designs.

Let There Be Light!

The Ponytail Palm loves light, so bright light will keep it happy and healthy. But it’s also a relatively forgiving plant, so you don’t have to be perfect here. If you can make sure it gets bright light most of the time, it can adapt to some lower-light conditions. But remember, more light is better. As long as you’re making sure it gets enough exposure to bright light, it will reward you with a healthy look as it grows.

One caveat: Like most living things, your Ponytail Plant doesn’t do as well when thrown into a shocking new environment. If you’re going to bring it into (or out of) bright light, do it gradually over the course of a few days. Give it some time in both environments, and let it transition to a new area gradually. If you let it get accustomed to its new surroundings, and it will adapt better and maintain its beautiful look.

Easy on the Water

As a succulent coming from an arid climate, the Ponytail Palm doesn’t expect a lot of water. Since you’re bringing it in as a houseplant, you want to take care not to over-saturate it. Let the soil get dry between waterings (you might find yourself spacing them out for a month or so), and be careful when repotting. If you put it into a pot that’s much larger than the previous one, more water will accumulate and it will get too much. You want to get a pot that’s only an extra inch or two wider than the previous one, and it won’t suffer from too much water. Check out our Watering Guide for more details!

Good for Pets, but Be Careful

Your Ponytail Palm won’t be a danger to your cat or dog, but the reverse might not be true. Some cats find the large base and healthy trunk appealing and might be tempted to scratch it. And while the plant can easily maintain its healthy look under good conditions, it will succumb to too much physical duress. So be mindful of how your cats and dogs react to your new Ponytail Palm, but don’t worry about the plant harming them.

Ponytail Palm
14″ Ponytail Palm in a Strong Clay Square

Slow and Steady

One thing your Ponytail Palm won’t do is impress you with its speedy growth. It’s a slow, steady pace for this plant. Make sure you’re comfortable with its general height when you get it (we offer two sizes) because it won’t be shooting up immediately. It will grow over time, but you want to enjoy it at its leisurely pace to full maturity.

Pruning, Cleaning, and More

When you get your Ponytail Palm from PLANTZ, it will have one stem and one head, which reduces the need for pruning. If you see leaves turn completely brown, you can remove them at the stem. Brown tips can be trimmed with sharp scissors.

You’ll also want to feed your plant, but don’t worry about that requirement when you first get it. Your Ponytail Palm will have plenty of nutrients from the nursery, so wait about six months before using fertilizer. Use a formula designed for interior plants, our Foliage Pro fertilizer is a great option. Apply quarterly, and it should do just fine.

Your Ponytail Palm (and plants in general) thrive when they’re kept clean. A towel soaked with light, soapy water will keep the leaves clean when applied gently. And mealybugs, mites, and other pests can be sprayed with a light soap solution and wiped down. Taking care of your Ponytail Palm will keep the leaves looking great, allow it to breathe and photosynthesize, and provide the look you imagined when you brought it into your home.

Just be careful when tending to it. The leaf margins are serrated and pleasant to the touch pulling away from the stem but going against the grain can irritate (or even cut) unprotected hands. But overall, the Ponytail Palm is a low-maintenance, hearty plant with a look that can change the décor of a room. Take good care of it, and it’s sure to return the favor.

Need More Help?

If you have more questions or want to make sure the Ponytail Palm is the right plant for your home, you’ve come to the right place. We don’t just sell plants; we love them. We want a perfect match between customers and plants, and we can offer our extensive experience and knowledge to make sure we find it for you. Just use our contact page with any questions.

Top 5 Reasons You Need a Soil Sleuth

The biggest threat to your plants isn’t bugs or pests. It isn’t sunlight, or heat, or cold. While all of those things are important considerations to your plant’s health, they aren’t the reason most plants fail to thrive.

Believe it or not, it’s water.

Water, while essential to keeping your plants alive, is often the reason they struggle to stay healthy. In some cases, they aren’t watered enough and they die. And in many other cases, they get watered too much, and the soil is too wet. In that condition, there aren’t enough air pockets in the soil, the plant’s roots can’t breathe, and it drowns. In both cases, the way you water your plant can limit its beauty, health, and lifespan (check out our Watering Guide for the full scoop).

The truth is, watering your plant is more than just adding water to the soil. You’re checking and adjusting the moisture in the soil, and adding water when necessary to re-adjust to the optimal balance. Ideally, your plant enjoys wet and dry cycles, which alter the amount of oxygen in the soil and ensures the necessary water and nutrients get to the roots. When that cycle is disrupted or ignored, the plant suffers.

Nobody does this intentionally, of course. You try to check the soil and water accordingly. Unfortunately, the method you use to “check the soil” is often the reason you don’t get the results you want from your plants. Many people use the easiest soil-checker available – their fingers – to do a little digging and water according to what they find. It’s only a step above occasionally looking at the soil and judging based on what you see, and neither is particularly effective.

Since the watering cycle depends on a variety of factors (type of plant, type of soil, temperature, light, humidity among others), getting the moisture level right takes more than a quick look or dirty fingers. To do it right you’ll want a soil probe, which is a physical tool that you use to check all levels of the soil, down to the roots.

To accomplish this task, we recommend the Soil Sleuth. There are many reasons why it’s an important tool to keep on hand, but here are five that really show off its value.

Solve the Mystery.

You can’t check the top layer of soil, because, guess what?  The top layer always dries out quicker than the rest of the soil.  You need to gauge the amount of moisture in the root zone. You can’t depend on your fingers touching the top of the soil for the right answers, especially when it comes to larger plants. But a Soil Sleuth provides accurate information every time, and it doesn’t require batteries or any expert know-how to do its job. You simply push the Soil Sleuth into the soil, twist, and pull it back out. That’s it. It’s accurate, it’s easy, and it could save your plants.

Stay on Schedule.

When you first get a plant, having a Soil Sleuth is a perfect way to measure just how frequently it needs water. But over time, you’ll get to know its schedule on your own. Once you get used to its needs, should you keep using the Soil Sleuth?

Absolutely. Here’s why.

When you learn your plant’s moisture needs, you’re learning about what it needs in those specific circumstances. As discussed earlier, light, humidity, and a host of other factors contribute to a plant’s watering cycle. If any of those factors change, so will the cycle. What you thought you knew won’t apply anymore, and making assumptions can hurt your plant.

Even subtle changes can have a significant effect. Does your plant get more light at different times of the year based on seasonal changes? Is increased heat or air conditioning usage in certain months affecting the humidity levels in your home? Did you happen to move your plant to a different area? Has it grown since you first brought it home?

Any and all of those factors can impact its needs, and you’re back to guessing exactly how much. But with the Soil Sleuth, you’ll know every time. If the schedule needs to be adjusted, you’ll recognize it immediately, and can adjust right along with it. No matter what happens, you and your plant are always on schedule.

Gauge Your Soil Moisture.

The Soil Sleuth allows you to check the soil’s moisture level at different depths. When you insert the Soil Sleuth and twist, the notches capture multiple soil samples. Once you remove it, you can shake the samples into your hand and inspect each one. You’ll know exactly where the soil is dry, moist or wet, and you’ll avoid watering a plant that doesn’t need it. You’ll also know, without any doubt, when the soil is dry down to the roots and needs moisture. Each use of the Soil Sleuth gives you hands-on information at each level of your plant’s soil, so moisture will never be left to chance.

Safely Aerate the Soil.

When your Soil Sleuth shows that the soil is completely wet, that’s a sign not to water further, of course. But there’s more to it than that: That existing water eliminates the air pockets that your plant needs. Fortunately, you don’t have to wait until it dries out to get your plant that necessary oxygen.

In those cases, you can use your Soil Sleuth to make several unobtrusive holes to help aerate your plant’s soil profile. It doesn’t take more time, tools, or skill. You’re just helping your plant stay healthy with the same easy method you already use to check the moisture.

Less Stress.

While the watering cycle has an obvious effect on your plant, it impacts you as well. You don’t want to hurt your plant or be the reason it isn’t thriving, and getting the cycle just right can add stress for many people.

But those people don’t use a Soil Sleuth, because that stress goes away when you use one. You’ll know exactly when you need to water, when the soil needs to be aerated, and when to leave everything alone. That last action (or inaction) is just as important because you don’t want to drown your plant. You’ll know that everything is okay for now, your schedule is working, and you’re doing everything you can to keep your plant healthy. The Soil Sleuth helps you avoid mistakes and eliminates the stress of wondering what you need to do and when you need to do it.

Soil Probes
A soil probe, like the Soil Sleuth shown here, is a must for accurately judging soil moisture to determine when best to “water”.

It’s Right Here

At PLANTZ, we pride ourselves in helping you get the most out of your plant. That pride comes from doing a lot more than just selling you something. We want you to have the tools necessary to maximize your enjoyment and ensure a long, healthy life for your plant. Since the Soil Sleuth is a simple, cost-effective way to do that, it’s available right here. And if you have any questions about the Soil Sleuth or any other product we carry, we’re here for you. Just use our contact page for a prompt response.


Rhapis Palm Care Guide

Looking to add a touch of the tropics to your home? The remarkable Rhapis palm delivers both elegance and beauty to any interior space, instantly delivering a tropical vibe. The Rhapis palm, or Rhapis excelsa, is native to regions of Southeastern Asia and began gaining popularity dating back to the 17th Century- in fact, this palm has been grown as a houseplant in Japan for over 500 years!

Sometimes referred to as the Lady Palm, this versatile palm species is a slow grower that is sure to have you feeling like you’re on vacation for many years to come. This plant’s fan-shaped, glossy green leaves take up significant vertical space while not stretching out too wide, allowing you to home this graceful palm in even the most challenging of spaces. The Rhapis is also much more tolerant of lower light conditions than your average palm, which only adds to the allure of this must-have tropical species.

Here at PLANTZ, we offer both Florida- and Hawaii- grown Rhapis which differ somewhat in their growing capacities. The Florida plants are likely to grow more wide than tall, while the Hawaiian-grown Rhapis pack a lot of height into their growpots and are taller compared to their spread. The Hawaiian Rhapis are also grown in lava-rock based soil, called cinder, like most other plants in our Hawaiian collection. Whichever coast it may come from, the Lady Palm is sure to immediately upscale any interior setting it inhabits.

This plant is certainly picking up popularity in 2021- so pour up your favorite island cocktail and beat interior designers to the trend with everything there is to know about the Rhapis palm.

Watering your Rhapis

Both Florida- and Hawaii-grown Rhapis alike will enjoy being thoroughly watered while maintaining an evenly moist root zone between showers. Rhapis are often quite thirsty palms, especially those potted in lava rock as their soil medium should be checked weekly during the first two months after bringing one home (note – they’re delivered). Once the soil feels dry, give your Rhapis a deep watering around the entire soil surface until the water begins to seep out into the drainage saucer. You can then leave this excess water in the saucer and wait until your Rhapis has soaked it all up before watering again.

When watering your Rhapis you should keep in mind that a plant’s root systems are often at the bottom of the grow pot- so even if the top of the soil feels dry, the root zone may still be nice and moist. To ensure your green friend always has the right amount of H2o and is ready for its next drink, we highly recommend a probe such as our very own Soil Sleuth. A soil probe is the perfect addition to your plant-care toolbox and takes all the mystery out of your plant’s watering needs.

Finding the Perfect Lighting for your Lady Palm

As we mentioned before, the Rhapis is fairly adaptable when it comes to lighting conditions. It’s actually one of the most low-light tolerant palms, making it a perfect addition to spruce up an office or hallway. While this species of palm can survive in poorly lit spaces, it takes higher light to get it to thrive.

On the other hand, your Rhapis will grow to its fullest potential and truly thrive for years if placed in moderate, filtered natural light. This sort of lighting is best absorbed from East- or West-facing windows where your plants will have periods of semi-bright and filtered light throughout the day. Aim to give this palm as much sunlight as possible without placing it directly in the sun, as direct sunlight can lead to your elegant palm’s leaves becoming burnt and turning yellow.

When placing your palm in any high-light environment, remember that it will require more frequent waterings than it would if it was in the shade. Be sure to give your Lady Palm a little more love, affection, and water when placing it in a brighter spot, and watch in awe as it flourishes from soaking in all those extra sunbeams!

Rhapis palm in stand

Pruning: Potential Projects for you and your Palm

Along with the proper watering and lighting conditions, your Rhapis palm will require a little maintenance and grooming to keep them happy and healthy.

To keep your Rhapis glowing and easy on the eyes, give it an occasional wipe down with a damp cloth and get rid of any dust on its graceful leaves. A regular cleaning regimen with a solution of water and light soap will have your Lady Palm feeling as majestic as she looks! With a palm of this magnitude, you may also be able to use a feather duster to gently dust away any impurities on your Rhapis- always make sure the feather duster is clean though, as it’s a primary way to transfer one plant’s pest infestation to another!

Brown leaf tipping is another obstacle you may encounter with your Rhapis- this is natural for old fronds to yellow and become brown.

If an entire frond becomes discolored or dies, it may be necessary to whip out the pruning shears and remove some of your Lady Palm’s dead leaves. Focus on trimming the lower leaves of your Rhapis as new growth typically comes from the center of the trunk, and prune off the leaves as close to the stem as possible. If snipping away at your beloved plants sounds intimidating, head over and check out our Plantz guide to proper houseplant pruning to soothe all of your worries!

The Lady Palm may be pretty easy-going as far as tropical plants go, but they do still require some love and attention to really thrive and be their best selves. Give your Rhapis plenty of consistent care by following these helpful tips, and enjoy the endless island atmosphere that this elegant palm will provide for your home!

Your Complete Guide to Janet Craig Plant Care

The Dracaena Janet Craig, not to be confused with the dietary Jenny Craig, has been praised as one of the most popular houseplants for decades- and for good reason! These African natives thrive with little attention, low-light settings, and infrequent waterings, making them the unfussy roommate you’ve always dreamed of. The Janet Craig, sometimes referred to as “JC” in the Plantz community, spruces up any room with its sword-shaped, dark green leaves that make even the most uninviting corner stand out. Whether your thumb is green or brown, this low-maintenance classic is a must-have addition to your plant collection.

The Janet Craig is an incredibly versatile little number, coming in three different flavors that offer the right combination of size, shape, and color to fit whatever space you plan on transforming. Here at Plantz we offer various pot sizes for your JC, along with the option of your new plant coming in “bush” or “cane” form- bush being shorter and fuller, while cane is taller and more slender. If the classic green-leaf cultivar isn’t calling your name or you’re looking for a pop of color, the JC Carmen and Limelight are relatives that have all the same low-maintenance characteristics while offering hints of bright yellow to liven up the mood.

*Fun fact: NASA lists the JC as one of the top clean air plants for its ability to remove harmful toxins from the environment that it’s in!

Even though the JC plant requires such little attention that killing it would actually be rather hard, it still needs some love if it’s going to live a long and happy life. So, let’s dive into Janet Craig plant care and cover all of the basics for even our newest plant parents.

Watering Your Janet Craig

When it comes to watering, your Janet Craig will thrive living on the dryer side. Be sure to let the soil dry out between doses of H2o, and when in doubt- do not water! While the JC can tolerate a few missed waterings, it is far less forgiving when it comes to over-watering which causes the dreadful root rot. We highly recommend investing in a soil probe like our Soil Sleuth, which is a handy tool that takes the mystery out of when you should actually be watering your plants. Instead of relying on the finger test, a soil probe quite literally gets to the root of the situation and gauges exactly what the soil moisture level is- so you don’t have to take any chances when it comes to your beloved plant friends.

As if the JC wasn’t easy enough to care for, its minimal need for watering makes it a perfect candidate for utilizing a sub-irrigation system. One such as the PlantAssure sub-irrigation system creates a reservoir that your plant can absorb water from when it’s good and thirsty, reducing the risk of your new plant becoming overwatered and putting you at ease. These systems are perfect for those plant parents who are always zipping from meeting to meeting, or busy traveling the world, and worry about leaving their plant babies home alone. Plus, the sub-irrigation system goes below the grow pot so you won’t even realize it’s there! Efficiency AND aesthetics- what more can you ask for?

*Helpful tip: water your Janet Craig with filtered water, or let the water sit out for 24 hours, to eliminate the fluoride found in tap water and avoid leaf damage!

Along with proper watering techniques, it’s important to talk about the nutrition and growth of your Janet Craig. We ship all of our plants already fertilized, so your new plant buddy doesn’t need to be fed for the first 6 months. After that, it’s a good idea to check out our indoor plant fertilizer and feed your JC once every 3 months or so.

Whatever you do, it’s crucial NOT to remove your new plant from the plastic grow pot it was raised in as it can cause damage to the plant. Simply find a slightly bigger pot that matches the style you’re going for and put the grow pot right in! It couldn’t be any easier if we tried.

Keeping Your Janet Craig in the Right Light

When we say this is probably the most low-maintenance plant we offer, we’re not kidding. The Janet Craig’s large green leaves capture even the slightest bit of light, making it our most low-light plant in the stockroom. This makes them an ideal choice for offices, bedrooms, or bathrooms that mostly offer artificial light. While the JC prefers a shaded environment, it will do better and last longer with at least some moderate sunbeams. Be sure to never expose this plant to direct sunlight as it can scorch its delicate leaves!

You should also always rotate your plants, as it is vital to ensure growth is happening on all sides. Rotating your Janet Craig so each side is getting equal light guarantees that it will be more symmetrical and mirrorlike, allowing it to grow to its fullest potential.

This plant’s long, strappy leaves tend to be a nursery for dust, but thankfully they are quite easy to clean. All you have to do is wipe the leaves with a wet cloth and they will be radiating again in no time! Your JC may develop a slight Mealybug problem, and while they can be pesky- do not fret. With the power of a light, soapy solution and a spray bottle, these white cottony bugs will be gone as quickly as they appeared.

Janet Craig Carmen

What Temperature Should Your JC Plant Be Kept At?

Similar to humans, the Janet Craig prefers temperatures between 65°F and 85°F. These plants do not do well in temperatures below 55°F, with their growth slowing down as a result. If you’re a plant parent who lives anywhere that it snows, make sure to keep this plant out of cold drafts and away from heaters in the winter as they can damage their leaves. A good rule of (green) thumb is if you feel comfortable indoors, then your Janet Craig will also be feeling good.

While the Dracaena Janet Craig is usually listed as a non-poisonous houseplant, some cats and dogs have experienced discomfort after gnawing on the leaves. Just to be safe, keep this plant away from your pets and be cautious if they do happen to sneak a leaf or two.


Picking the Perfect Indoor Plant

Indoor plants add a lot to a home. They improve the look, the air quality, and the overall appeal of a living area. You can reduce stress and increase calm and happiness by adding new life to your current decor.

But you can’t just add any plants and hope for the best. You have to choose the right ones that suit your tastes and lifestyle to ensure you get the most out of the experience. And while picking the perfect plant takes a little planning, you can make the decision easier by following these simple tips.

Know Your Home

In a way, you’re not picking a plant for your home as much as the plant is picking the best conditions to grow, and your home might or might not qualify. The more you consider the environment the plant will inhabit, the better your decision will be. If you’re looking for something that will stay on the floor, choose something taller. For a table plant, shorter is better. And consider that the plant will get bigger over time, so the way it looks when you first set it down might be quite different after it’s had a chance to grow. Choosing a houseplant somewhat smaller than your ideal size will allow it to grow into the area and avoid having something that will eventually be too big for your tastes.

Other home considerations include lighting, temperature, and space, both in the home overall and in the specific space you plan to keep them. Palms love bright spaces with lots of wiggle room, for example. Take a good inventory of the areas you’re considering for your plants and match the right types with your living situation. And if you have pets, some indoor plants are more pet-friendly than others. Take in as many factors as possible to make the right plant choices for your home.

Kate's Areca Palm
An Areca Palm in the Big Apple

Know Yourself

Part of the living environment for your new plant includes the people who will be enjoying them and caring for them. An honest analysis of your needs and habits will also lead you toward making good plant decisions.

Are you the kind of person who can spend a good amount of time monitoring and caring for an indoor plant, adjusting temperatures and lighting, and making sure the soil has the correct moisture levels? If so, a Fiddle Leaf Fig might be an excellent choice for your home.

Or are you the kind of person who wants to buy an indoor plant, find a good spot for it, and give little thought to its care? A snake plant might be a better choice in that case. They adapt to a variety of light and temperature conditions and don’t require much watering.

In a way, the plant chooses the person, based on personality and living conditions. The right plant is out there waiting for you. You just have to figure out which plant that is.

Mind the Little Things

Even low-maintenance plants can’t be completely ignored. Even a minimum of care can go a long way to ensuring a long, healthy life for your plant.

While some are heartier than others, plants don’t benefit from being moved around constantly. It’s not just a room accent, like a vase or mirror. It’s a living thing, so try not to change its immediate environment on a regular basis.

But keep in mind that some movement — rotating your plant — is actually a good thing. Plants near a window will grow faster and actually gravitate toward the light. That phenomenon could create uneven growth and a look you won’t find ideal. To combat that possibility, rotate your plant at 90-degree angles once a week so all sides will get the proper light exposure. You don’t want to move your plant all-around your house but moving it within its space can promote healthy growth.

Also, keep in mind that the space itself can change. A window that offers great light in one season might become a lower-light space in another. If your window faces south, for example, you can expect more light in the winter (when the sun is lower). You might not notice it too much, but your plants will. And you’ll notice their changes, which means it’s worth your while to make sure your houseplants get the light they need (and avoid what they don’t need) year-round.

Another change can occur when your house gets too cold. One long vacation when you let the inside temperature dip below 50 degrees (since you’re not home) will wreak havoc on your favorite tropical houseplants. Make sure the inside temperature isn’t damaging to your living decorations, especially when you won’t be there to make adjustments.

Pruning can also encourage new growth, improve a plant’s look and extend its life. And just keeping an area dust-free will keep leaves clean and open to receive sunlight and create oxygen. A quick once-over can let you know how your plant is doing, and minor adjustments can go a long way toward keeping it happy and healthy.

Finally, a regular check of the soil will gauge whether the watering schedule is working or not. Over-watering can be more damaging than the opposite, so check to make sure the amount of watering you’re doing is right for your plant. If it doesn’t need the water, skip that one and determine a better schedule.

You could use the old finger-in-soil method to provide a guesstimate of how the watering system is working. But if you want to be precise (and keep your plants looking their best) consider using a Soil Sleuth. A good soil probe turns guesswork into confident watering, letting you know exactly how much water your plant needs.

One way to ensure you’re getting the watering right is our exclusive PlantAssure Sub Irrigation system. The sub-irrigation process creates a reservoir of water by raising the grow pot above the liner with a special PVC ring. The houseplant absorbs water from the reservoir naturally, letting weeks or even a month go by between waterings.

A pruned, dust-free, properly-watered plant will improve its living space with a vibrant, healthy presence. And all it takes is a little mindful care. And for more detailed watering tips, check out our watering guide.

Snake Plants
Snake Plants in Phoenix Planters

Need More Help?

If you need more assistance, we’re right here. For decades, PLANTZ has helped people with indoor plant selection and maintenance, with everything from planters to nutrition to the above-mentioned irrigation. We can help you find the perfect plant and have it delivered right to your door. Simply contact us with any questions.

The Complete Kentia Palm Care Guide

Ahh, the Kentia Palm. Elegant and dignified, the Howea forsteriana was one of the first palms ever cultured for use as an indoor plant. This majestic plant is one of the most resilient members of the palm family and immediately transforms any space into a tropical paradise. Originally propagated in Hawaii with a soil media of crushed lava rock, the Kentia offers long-lasting beauty with little fuss and a very low-maintenance care routine. It’s the perfect palm for adding an exotic touch to any home or building that will create a scene straight out of a tropical vacation!

The Kentia Palm is a real head turner with its tall, feathery fronds that can grow up to a foot in length. This palm is an ideal choice to show off indoors because of how tolerant and care-free it is- they’re easy to take care of, easy to adapt to new environments, and have we mentioned they’re easy on the eyes? In their native habitat off the coast of Australia, these majestic palms can easily reach heights of 30 feet tall. Here at Plantz, however, they come in a variety of different sizes ranging from 2-6 feet tall. Whichever size you go for, we can guarantee you will not be disappointed adding the Kentia Palm to your interior design.

While these palms are more forgiving than their family members (really, they’re practically people-proof), they still deserve the love and care needed to grow into the icon of tropical style that they are.

Kentia Palm Watering 

When it comes to keeping your Kentia happy, think tropical conditions. This plant prefers to be well-hydrated but never soggy, as overwatering can lead to root rot. Since the Kentia Palm is adapted to the porous lava rock soil of Hawaii, it’s actually rather hard to overwater compared to most other houseplants. Regardless, it’s always best to use some sort of soil probe, such as our Soil Sleuth to ensure you’re only watering when your Kentia really needs a drink. Remember- it’s always better to miss a watering than to overdo it and cause your plants to drown in soggy soil conditions.

When your Kentia is good and ready for some H2o, make sure to water it thoroughly around the entire soil surface. Always allow the soil to dry out completely before the next watering to avoid possibly drowning your plant. Your Kentia may become thirstier in the warmer months, requiring weekly waterings to stay happy and healthy. In the winter, the palm will usually only need a good dose of H2o every couple of weeks or so.

Lighting for Your Kentia Palm

The Kentia Palm is just as easygoing when it comes to lighting as it is to watering. This plant has a much stronger tolerance for lower light conditions than other palms, making it the go-to choice for adding those summertime vibes indoors. While the Kentia can tolerate some pretty shady spots throughout the house, they really grow best and thrive in medium to bright light. Whether placing your new palm in a low-light corner or near a sunny south-facing window, make sure the light is always filtered and the palm is never in direct sunbeams as the intense light will burn those beautiful green fronds.

Temperature Requirements

Remember- think tropical conditions when caring for your indoor palm. Like most native tropical plants, this palm prefers warmer temperatures and high humidity. Similar to their lighting conditions, the Kentia Palm is quite tolerant of their temperatures as well- they can put up with temperatures as low as 25° and as high as 100°! While their temp range is quite impressive, they will always perform better and be healthiest in temperatures ranging between 65° and 85°.

Since the Kentia Palm is tropical in nature, it really thrives in environments with higher humidity. To keep your palm feeling nice and cozy in their new home, we recommend misting the leaves with a spray bottle a couple of times each week. If you’re more of a forgetful plant parent, you can also place your Kentia in a bathroom that has enough natural sunlight and is big enough for a gorgeous palm of this size. Whenever you shower or take a bath, the water will create a humid environment for the palm leaving you with one less worry and one happier plant!

The Kentia Palm thrives near a window

Nutrition

 Here at Plantz we make sure your new green friends are well-fed and nourished before they arrive to you, so you will not need to feed your Kentia Palm for at least six months after you get it. After that, it’s important to feed your new palm monthly during the growing seasons of spring and summer with liquid fertilizer or a specially formulated palm fertilizer. Your palm won’t need any fertilizer through the winter months, so fertilizing is usually just seasonal.

Common Problems of the Kentia Palm

 The biggest issue when it comes to little critters on your Kentia Palm is scale. These insects will show up as little brown bumps on the stems or leaves of the plant, and one of the most visible indicators of scale is a blackish mold. Luckily, these insects can be wiped off with a little bit of pressure.

Like many indoor plants, you should also be on the lookout for mealybugs and spider mites on your Kentia. Both of these pests suck the juices from your precious palms, and if left untamed can end up killing your plant as well as spreading to other houseplants in your collection. Instead of treating these pests with alcohol-containing products, opt for an insecticidal soap instead so you don’t dry out the delicate leaves. Saturate all of the fronds with the soap mixture once a week until your pesky bugs are gone for good.

With the right amount of attention and love, the Kentia Palm will create a permanent tropical oasis for you to enjoy for many years to come. Contact us today and we’ll get you matched with the perfect palm for your space!