


PLANTZ Guide – Watering for Success
Adjusting the Soil Moisture (aka Watering)
To get going on this topic, we really don’t like to call it “watering” – what we’re really doing is adjusting the soil moisture with water (and sometimes nutrients) – not just “watering”. And, of all the cultural practices in your plant-care toolbox, this is the one you have to get right – and is one thing that will most impact the health and longevity of your plant. Period.
Plants have roots for stability and to take moisture from the soil. Water, from soil moisture, is used for, among other things, translocating compounds within the plant – so, your plant needs water…of course. The roots also need oxygen to metabolize – so your plant’s roots need air too. When you add water to the soil, the air space around the roots is flooded and oxygen and other gases are pushed out of the spaces between the solid soil particles. Gravity pushes most excess water out of the soil and the plant absorbs some of it too, returning more air to the spaces in the soil. This wet/dry, wet/dry, wet/dry cycle is what is best for your plant – so it makes sense that we would try to emulate it with our “watering” practice…right?
Wet it. Let it dry down.
Wet it. Let it dry down.
Wet it. Let it dry down.
Wet it. Let it dry down.
And so on.
That’s what’s best for your plant.
With that in mind, the age-old question “when should I water my plant?” is easily answered – “when it’s dry and needs it!”. Seriously. That’s it. It’s not some preconceived time interval like many overzealous plant parents think it is. The span of time between when the soil is moist and when it is dry depends on a lot of variables –
- Plant type – Is it an arid dweller, like a Sansevieria; or is it a heavy drinker preferring moist feet like a Rhaphis palm?
- Soil type – Is the soil rich in organic matter, retaining moisture longer; or does it have solid particles, that allow for better drainage?
- Light – Is your plant getting good light and pushing photosynthetic activity; or is it being ‘sustained’ in a corner where light dim?
- Temperature – Is it warm, where transpiration from the plant and evapotranspiration from the soil have water escaping from the soil into the surrounding atmosphere; or is it cool where water tends to stay inside the plant and in the soil profile?
- Humidity – What’s the humidity like around the plant? Is it high, causing less moisture to escape from the leaves; or is it low, making it easy for water to evaporate from a leaf?
- Reservoir – Lastly, is there a reservoir from which the plant can get additional moisture when it needs it?
With all those factors, there is no known mathematical equation that will pinpoint the optimum time a particular plant should be watered. So, you must examine the soil yourself.
We’ve tried the “eyeball” method – simply looking to see if the top of the soil looks wet or dry. We’ve tried the “stick your finger in it” method – thrusting our finger into the soil to find out what’s going on in maybe the top two inches (leaving you to wonder what’s going on in the bottom 10+ inches). We’ve even experimented with electronic soil moisture meters but, in our opinion, they deliver unreliable readings especially when higher concentrations of nutrients/salts are present (or the battery simply runs out on the meter).
Using a Soil Probe for Succesful Plant Watering
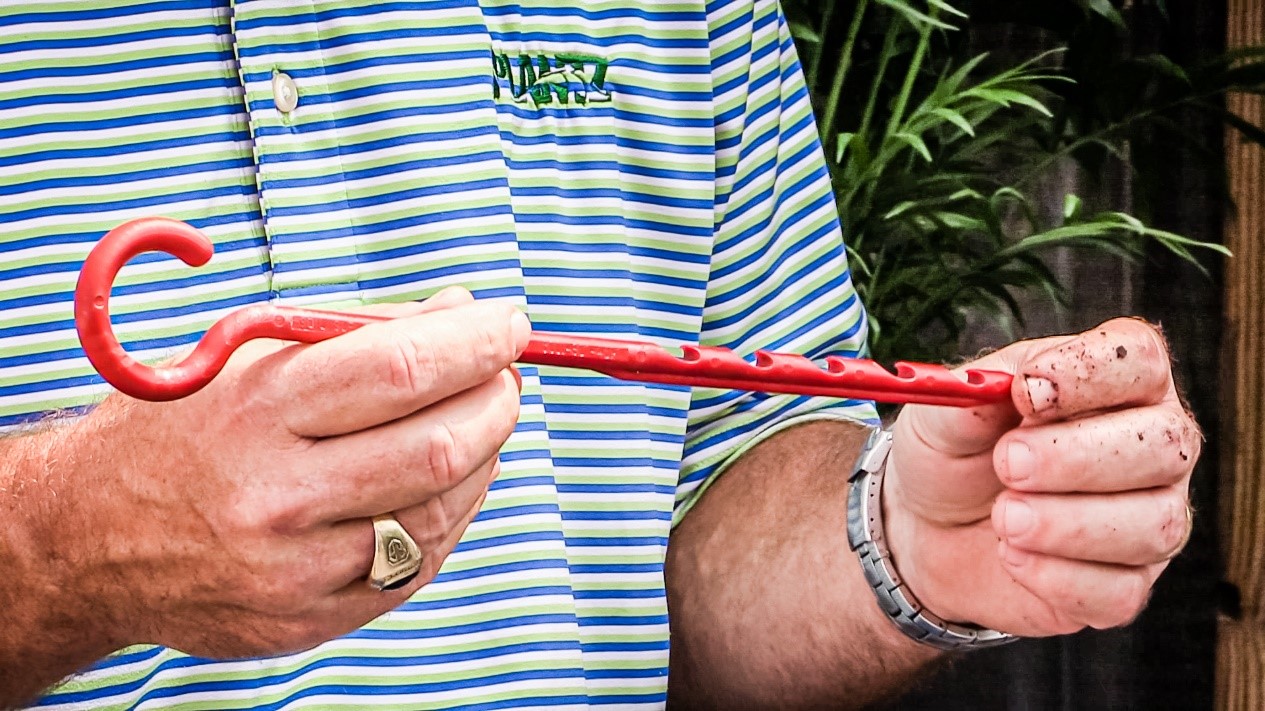
What works best, and produces reliable results every time, is a soil probe – a physical device that is manually pushed down into the soil, into the rootzone, and pulled back up to expose relative amounts of moisture at different depths. It’s simple, works every time, and never gives a false reading. In our Tampa-based plant service business, our plant care technicians carry soil probes to every service engagement and rely on them for accurately prescribing how much water to give a plant – or, sometimes, none at all.
If you probe the soil before watering with a soil probe, many times you’ll discover that the soil is dried down pretty thoroughly in the top couple inches (where the “stick your finger in it” method stops), only to find out there’s ample moisture in the lower levels of the soil profile. So, while the “finger” method may have inclined you to add water, the probing method would allow you to back off and wait for the entire soil profile to dry down. There’s more info later on how to overcome the anxiety of “doing nothing”.
So, the first thing you need in our plant-care toolbox is a soil probe – and we like the Soil Sleuth. Don’t do plant care without one.
We will acquiesce, however, that over time you can develop rhythm and a plant-watering interval that can be relied on without using a probe, provided all the variables – plant type, light, temperature – remain consistent. So, if you’re probing and watering when the soil has dried down and you discover that happens every 12 days, for example, then you should be good watering (or, we should say, adjusting the soil moisture) about every 12 days. Be careful though. You can get in a rhythm with your plant and suddenly you find it’s using different amounts of water because it’s the first time in the fall when the heat is turned on (or some other dramatic event like that). It can be more subtle and gradually change over a longer period – like losing sunlight in the fall – or getting it back in the spring. Rhythm is good – just be on the watch for factors that’ll throw your rhythm off and then it’s time to grab the soil probe and develop a new rhythm.
We’ll admit, too, that using a soil probe can cause one of the worst, most anxiety laden aspects in the history of plant care – doing nothing. We operate a plant leasing and rental service in Tampa, Florida, where our plant care technicians are mostly on a 14-day service cycle. This means that we see each plant about every 14 days. And regardless of the service interval, the most difficult job for any plant care technician is to not add water to the plant. It can be painful and cause lots of anxiety – probing the soil only to find out there’s good moisture and then doing nothing. Everybody wants to do something, it’s our nature, but nothing is sometimes what the plant needs. We know it’s nearly irresistible but when it comes to watering, doing nothing can is the best thing for your plant – and the best way we’ve discovered to give you confidence to do nothing is to probe the soil and discover the relative levels of adequate moisture throughout the soil profile. Got it?
When it is time to do something, like add water to the soil, there is a good way and a not-so-good way, and there’s also a couple things to consider about the water itself.
First, the water – many of us, especially in commercial plant care, can only use water that flows through municipal water systems. Many times municipal water is treated to contain fluoride, among other things, ostensibly for human oral hygiene. Although it may help your teeth, over time, especially with Dracaena, fluoride can build up in the leaves and manifest itself in little yellow spots. So, if you’re not on the 18th floor of a high-rise building, you can use harvested rainwater, well water, water collected from your air conditioning unit, or even distilled water. At PLANTZ, we irrigate with well water and it works well for us (get it?) but rainwater is likely the next best thing and easy to harvest.
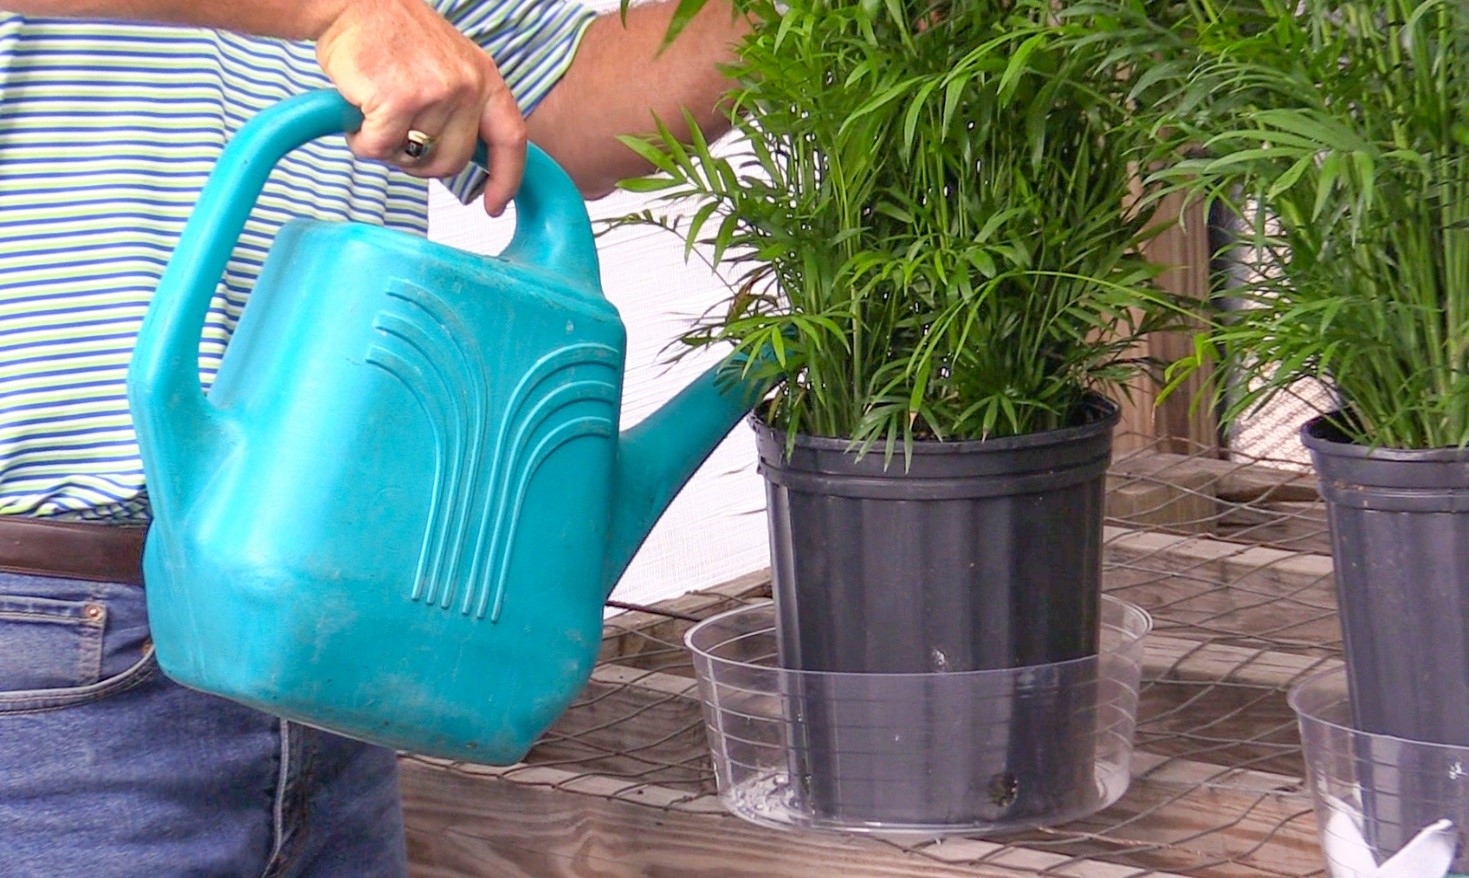
Second, how to water. When you have the right water in a nice watering can (get a sturdy one, with a strong handle and spout), you should start pouring water at some designated point and then consistently pour water around the entire perimeter of the plant – either turning the plant or moving around it to ensure thorough coverage. Continue doing this until you observe water leaking from the holes in the bottom of the growpot. It’s okay to let some leak out into the liner, but not too much – you don’t want to drown your roots. This process will evenly wet your soil to an adequate saturation point. That’s it. Now, don’t do this again until…what? THE SOIL IS DRY AGAIN!
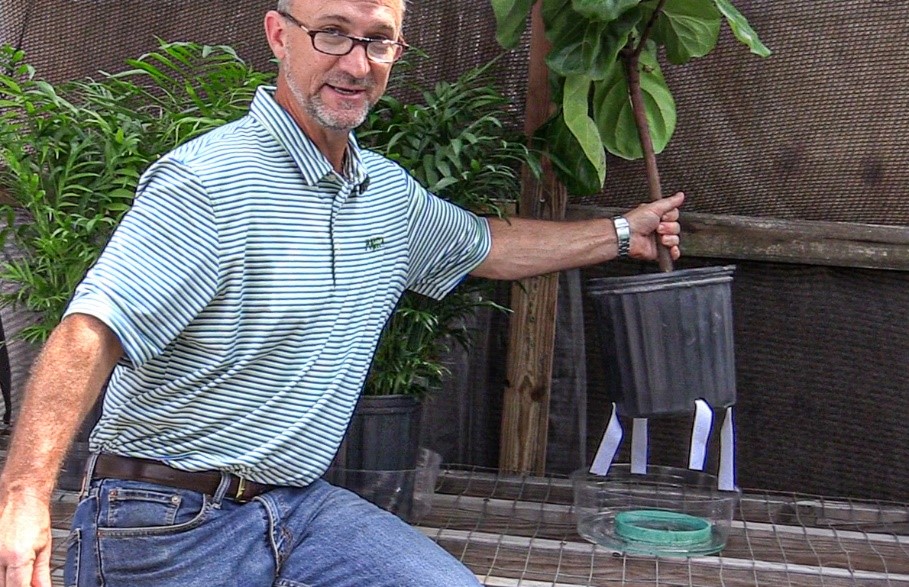
Okay. It’s time to try something new; it’s time to try sub-irrigation. It’s a high-finesse plant care configuration with high rewards for most interior plants.
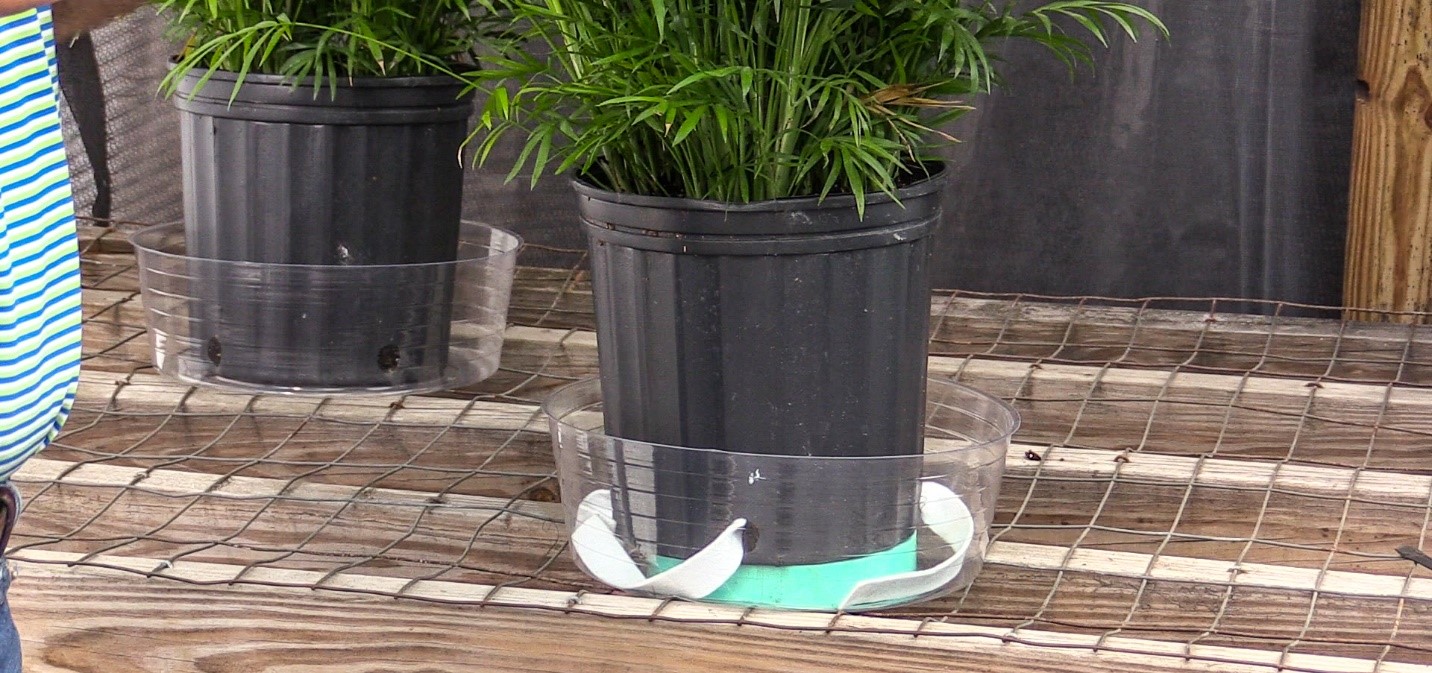
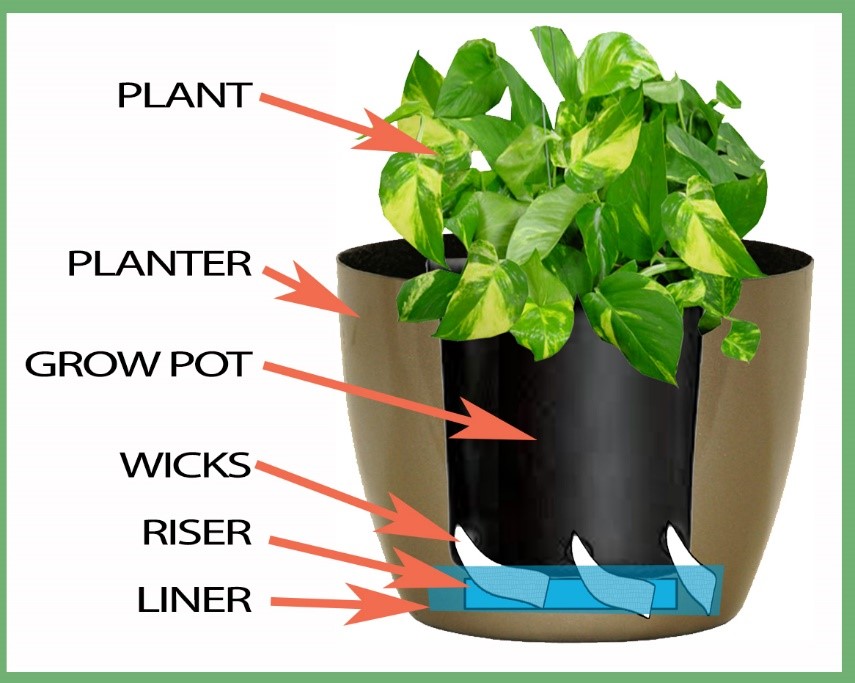
It’s like using your laptop for years only to discover there’s another battery in it that you never knew about (or bothered to charge). There are a few good methods and systems for sub-irrigation, but the most simple and inexpensive is what we call ‘PlantAssure’. And, like getting more screen time because of your bonus laptop battery, PlantAssure sub-irrigation creates a reservoir from which your plant can absorb water when it needs it. That’s right, your plant can water itself. Admittedly, this method is not for overbearing plant addicts who like to check their plants daily; this is for the ‘wet it and forget it’ plant lovers who enjoy staring at a plant just as much as caring for a plant – sounds catchy, huh? As noted, it’s simple – several strips of wicking material, a PVC riser/ring, and a liner.
That’s all you need. With the plant in its nursery growpot, wicking strips are inserted into the drain holes and pushed several inches up inside the soil profile. Then, the plant is placed on a riser – in our case, a cross-section of a PVC pipe – lifting the plant up about one or two inches above the bottom of a liner with the wicking strips allowed to fall down below into the bottom of the liner. The system is then “charged” by wetting the soil from the top and filling the newly created space with additional water, creating a reservoir. When the soil profile dries down – from absorption by the roots and evaporation from the top – capillary action pulls water through the wicks up from the reservoir into the soil profile where it can be used by the plant as it absorbs water and transpires. The plant essentially waters itself. Make sense? Depending on other factors – light, temperature, and humidity – using PlantAssure can extend your watering interval by several weeks. Meaning you could water your plants, charge the reservoir with additional water, and go away for four to six weeks and not worry about your plant having enough soil moisture to bridge the gap.
Lastly, we have a “don’t do” for you – One of the biggest mistakes a plant parent can make is removing a plant from its nursery growpot (the ugly black plastic thing that your plant has grown up in at the nursery where it was propagated) and planting it (aka re-planting or re-potting) directly in a decorative planter THAT HAS NO DRAINAGE HOLES. If you transplant your plant in a planter that has no drain holes you’ve just issued it a death sentence. In that configuration, when you water it, some of the water will be absorbed by the plant roots; but most of it will succumb to a time-tested and undefeated natural law – it’s called gravity. That’s right – the excess water will end up in the bottom of the planter and will drown and kill any roots that low in the soil profile. Remember, if it’s soaking wet, there’s no oxygen for root metabolism aka ‘drowning’. We recommend leaving your plant in the ugly black plastic thing with the drain holes – it’s your friend. And if you’re inclined, like we are, to hide the nursery growpot from view then set it up inside a decorative planter so that your drainage system still works.
This simply means you should place the plant, still in its growpot, inside a decorative planter so that the excess water can drain completely through the soil and not accumulate in the bottom of the growpot.
That’s it. All this works for big and small plants alike. It works for plants in a living room or on a patio – any plant whose sole water source comes from you. If your plant gets water from rain, too, then all bets are off. So, whether you’re using a traditional growpot with drain holes or one configured with sub-irrigation, just…
Wet it. Let it dry down.
Wet it. Let it dry down.
Wet it. Let it dry down.
Wet it. Let it dry down.
And so on.